Preventing and Fixing Nail Pops in Your Drywall
Nail pops are a common issue that many homeowners encounter, especially in newer homes or homes where drywall has been recently installed. These small bumps or cracks in your walls are caused when nails or screws used to fasten the drywall become loose and start to protrude, creating unsightly bulges. While nail pops are often a cosmetic problem, they can sometimes indicate deeper structural issues.
At London Drywallers, we understand how frustrating nail pops can be, and we’re here to help homeowners in London, Ontario, learn how to prevent and fix them effectively. In this article, we’ll explore the causes of nail pops, how to prevent them, and what steps to take to fix them once they appear.
What Are Nail Pops?
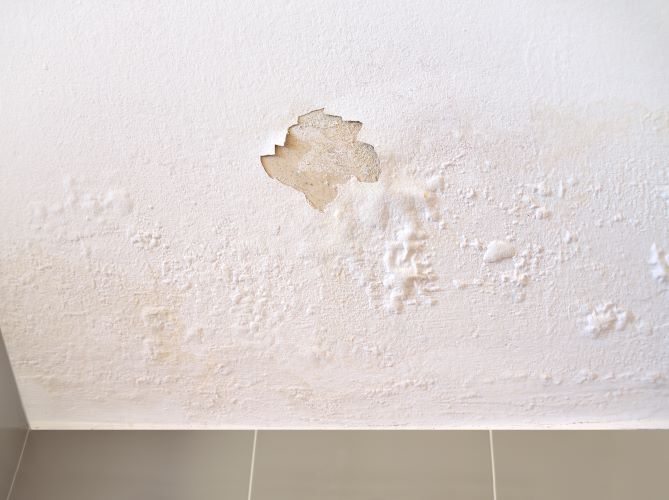
Nail pops occur when drywall fasteners—typically nails or screws—begin to push through the surface of the drywall. This can cause a small circular bump, often accompanied by cracks in the surrounding area. Nail pops can happen anywhere, but they are most commonly found on ceilings and walls.
What Causes Nail Pops?
Nail pops are generally the result of the natural settling of your home, which causes the framing lumber to shift slightly. This movement can push the nails or screws used to secure the drywall out of place, causing them to "pop" through the surface.
Some of the most common causes of nail pops include:
- Wood Shrinkage: The wood used in framing a home contains moisture, which dries out over time. As the wood shrinks, it can cause nails to become loose, leading to nail pops.
- Temperature and Humidity Changes: Fluctuations in temperature and humidity can cause the wood framing to expand and contract, pushing nails or screws outward.
- Improper Fastening: If nails are not driven deep enough into the studs or screws are not properly secured, they may come loose, resulting in nail pops.
- Vibration and Movement: In some cases, vibrations from household activities or the natural movement of the house can cause fasteners to shift, leading to nail pops.
How to Prevent Nail Pops
While nail pops can’t always be avoided, there are several steps you can take to minimize the risk:
- Use Screws Instead of Nails: Nails are more prone to coming loose than screws. If you're installing new drywall or making repairs, use drywall screws instead of nails for a more secure hold. Screws are less likely to move over time and are better suited to handle the natural expansion and contraction of your home’s framing.
- Use Longer Fasteners: If you must use nails, opt for longer drywall nails that provide a deeper hold in the wood framing. Longer nails are less likely to loosen as the wood shrinks or shifts.
- Double Fasten: To prevent future nail pops, consider using two fasteners—either two screws or a combination of a screw and a nail—for extra stability. This technique can help distribute the load more evenly and reduce the risk of movement.
- Install Drywall Correctly: Proper installation is key to preventing nail pops. Be sure to use enough fasteners and ensure they are properly spaced and driven flush with the drywall surface.
- Control Humidity Levels: Maintaining a consistent humidity level in your home can help prevent wood framing from expanding and contracting, reducing the risk of nail pops. Use a dehumidifier in the summer and a humidifier in the winter to help keep humidity levels stable.
How to Fix Nail Pops in Drywall
Fixing nail pops is a relatively simple process that you can handle on your own, or you can hire a professional to ensure a smooth, seamless finish. Here’s a step-by-step guide on how to repair nail pops:
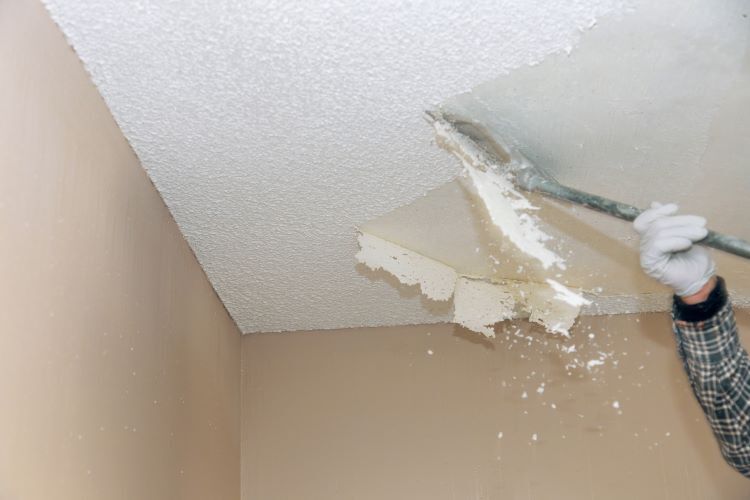
Step 1: Remove the Nail or Screw
- Use a hammer to remove the popped nail or a screwdriver to back out the loose screw. If the fastener is still secure but sticking out, you can also tap it back into place with a hammer.
Step 2: Install a New Screw
- To prevent the problem from recurring, install a drywall screw about 1 to 2 inches above or below the original nail or screw hole. This will help secure the drywall to the framing.
Step 3: Cover the Hole
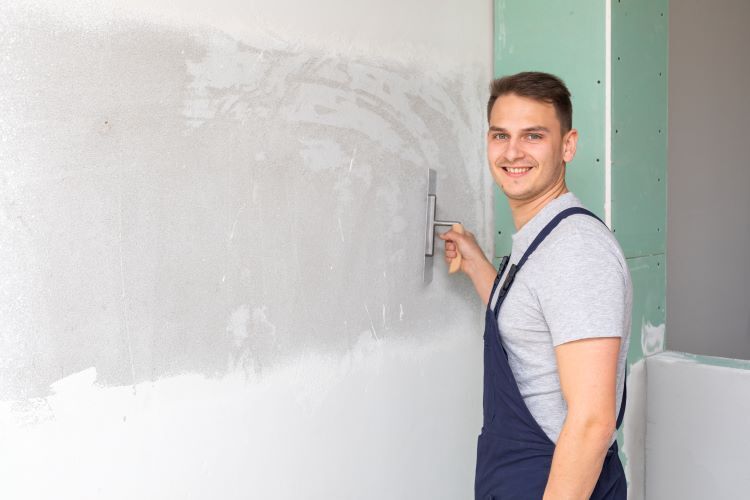
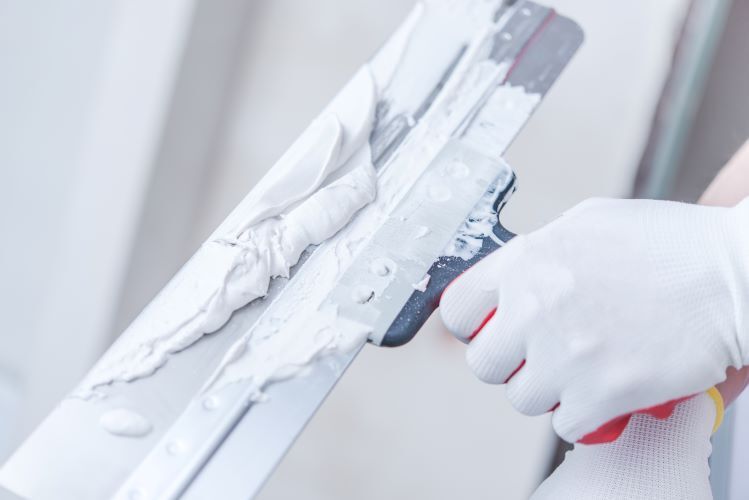
- Apply a small amount of joint compound (also known as mud) over the original hole left by the nail pop, as well as over the head of the new screw. Be sure to smooth out the compound with a drywall knife to create a flat, even surface.
Step 4: Sand the Area
- Once the joint compound has dried, lightly sand the area with fine-grit sandpaper to remove any rough edges or bumps. This will create a smooth surface ready for painting.
Step 5: Prime and Paint
- After sanding, apply a coat of primer to the repaired area to seal the drywall and prepare it for paint. Once the primer is dry, paint over the area to match the rest of the wall.
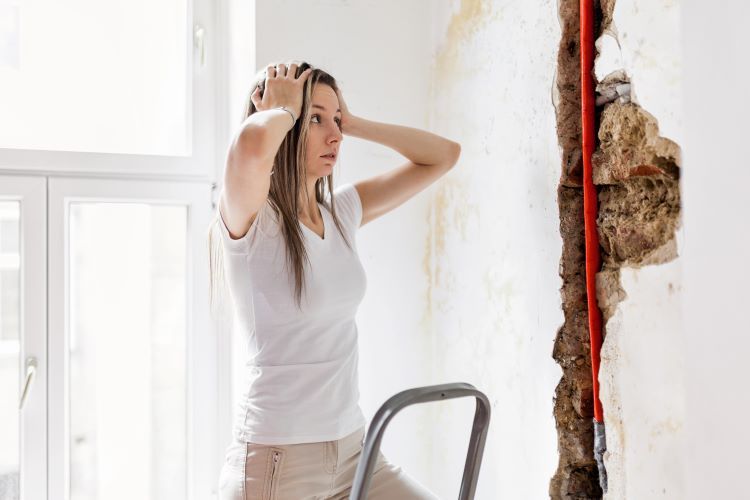
When to Call a Professional
While fixing a single nail pop is a simple DIY task, multiple nail pops or recurring issues may indicate a larger problem, such as excessive movement in the framing or moisture issues. In these cases, it’s best to contact a professional drywall contractor like London Drywallers. We can assess the situation, identify any underlying issues, and ensure your drywall is repaired correctly and professionally.
Conclusion
Nail pops are a common issue in drywall, but with the right prevention techniques and repair methods, you can keep your walls looking smooth and flawless. At London Drywallers, we’re experienced in handling drywall repairs of all sizes, from simple nail pops to more extensive damage. If you’re dealing with nail pops or other drywall issues, don’t hesitate to reach out to us for professional help.
Contact London Drywallers today to schedule a consultation and keep your home’s drywall in top shape!