Basement Drywall Finishing Techniques for a Seamless Look
Finishing the drywall in your basement is a critical step in transforming an unfinished space into a comfortable, functional area that feels like an extension of your home. Whether you’re planning to create a cozy family room, a home office, or an entertainment hub, achieving a seamless look with your basement drywall finishing is essential. In this article, we’ll explore key techniques that ensure a flawless finish, providing you with a professional-looking basement you can be proud of.
1. Proper Preparation: The Foundation of a Seamless Finish
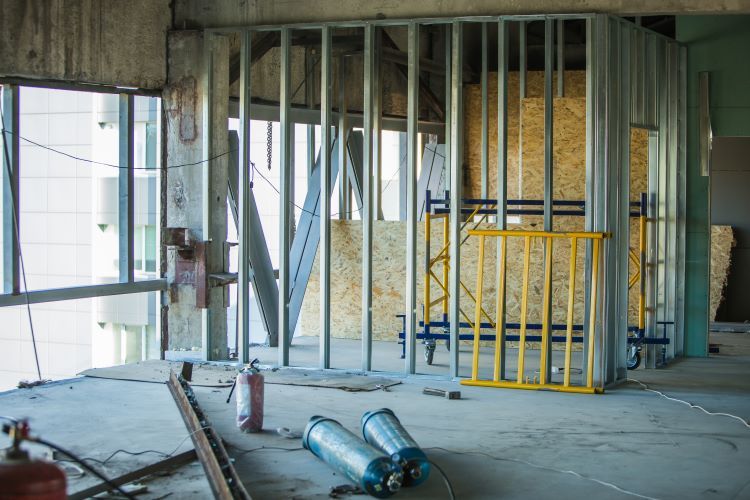
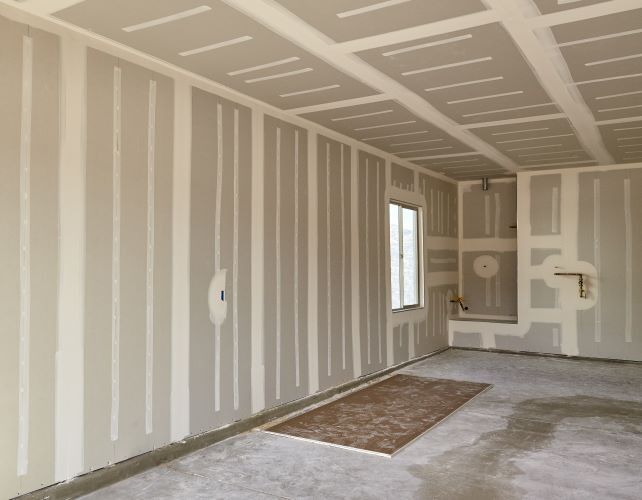
Before any finishing work begins, it’s crucial to ensure that your drywall installation is done correctly. Proper framing, precise drywall cuts, and securely fastened sheets are the foundation of a seamless finish. Gaps between sheets, misaligned seams, and poorly fastened drywall can lead to visible imperfections later on. At London Drywallers, we ensure every piece of drywall is meticulously installed to set the stage for a flawless finish.
2. Taping and Mudding: Mastering the Basics
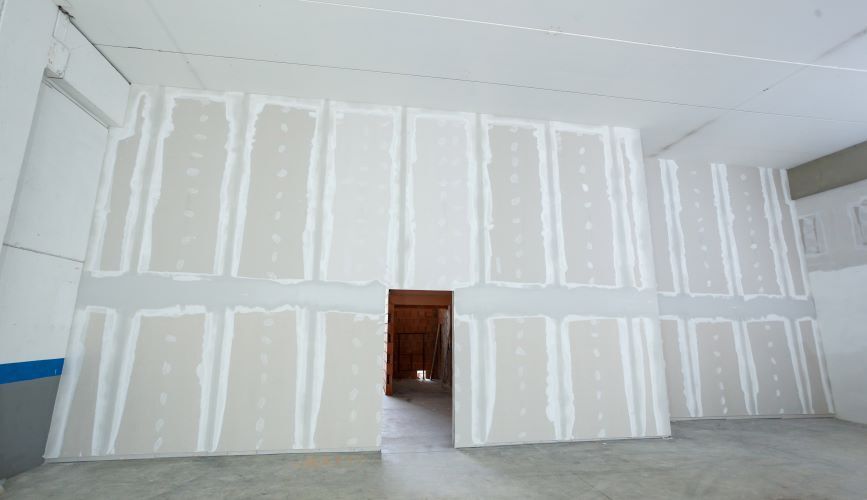
Taping and mudding are the heart of drywall finishing. The goal is to create smooth, invisible seams between drywall sheets. Here’s how to master these techniques:
- Applying the Tape: Begin by applying joint tape over all seams. Paper tape is a popular choice for its strength, but mesh tape is also effective and easier to apply for beginners. The tape should be centered over the seam, ensuring it lies flat without bubbles or wrinkles.
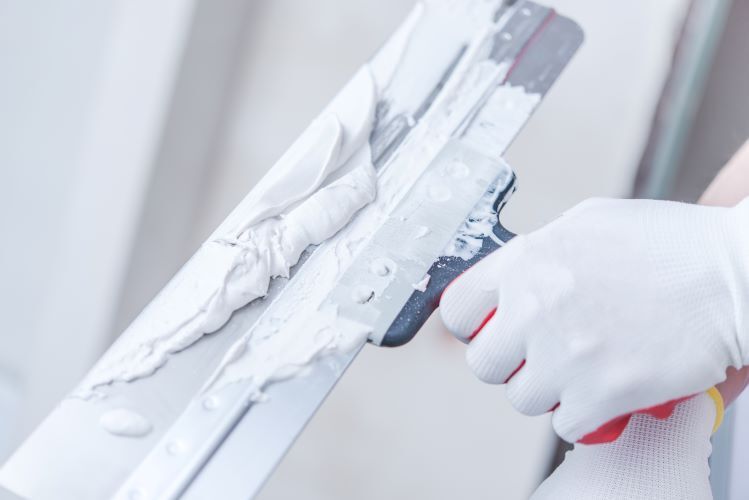
- First Coat of Mud: The first coat of joint compound (often referred to as “mud”) is applied over the tape. Use a 4- to 6-inch drywall knife to spread a thin layer of mud, fully covering the tape. Feather the edges to blend with the surrounding drywall. Allow this coat to dry completely before proceeding.
- Subsequent Coats: Apply two or three additional coats of mud, gradually increasing the width of your strokes with each coat. This builds up a smooth, even surface. Use wider knives (8- to 12-inch) for the final coats to achieve a seamless transition between the seam and the drywall. Sand lightly between coats to remove any high spots or imperfections.
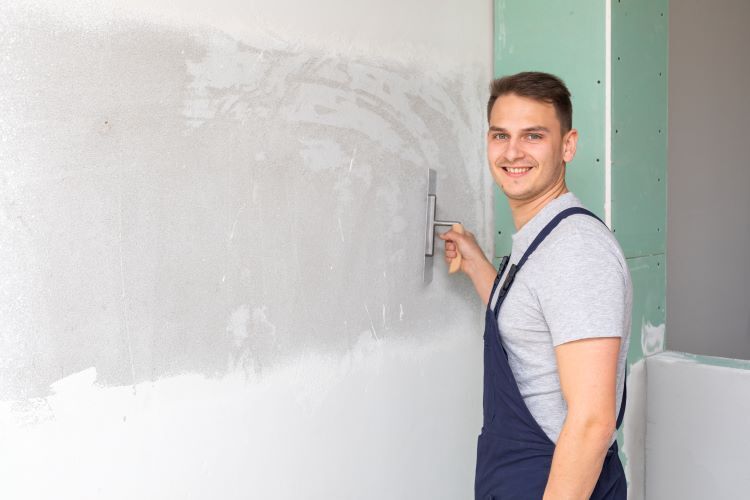
3. Sanding: Achieving a Smooth Surface
Sanding is essential to achieving a perfectly smooth finish. After the final coat of mud has dried, use fine-grit sandpaper (typically 120 to 150 grit) to sand the entire surface lightly. The goal is to smooth out any remaining imperfections without creating divots or uneven surfaces.
- Avoid Over-Sanding: Be cautious not to over-sand, as this can expose the tape or create indentations that will show through the paint. Instead, aim for a uniform surface that feels smooth to the touch.
- Sanding Sponge: For tight corners or detailed work, a sanding sponge can be very effective. It’s flexible and can conform to curves and angles, helping you achieve a consistent finish.
4. Priming: The Key to a Flawless Paint Job
Priming is a crucial step that should not be overlooked. A good-quality primer seals the drywall and joint compound, providing an even base for paint. It also helps to highlight any remaining imperfections that might need further sanding or mudding before painting.
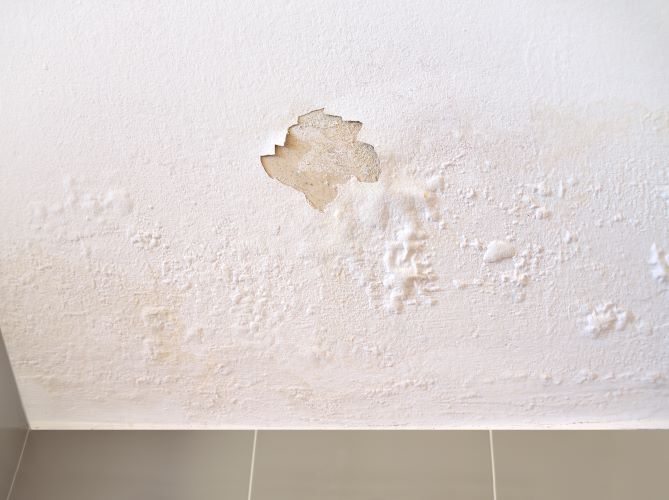
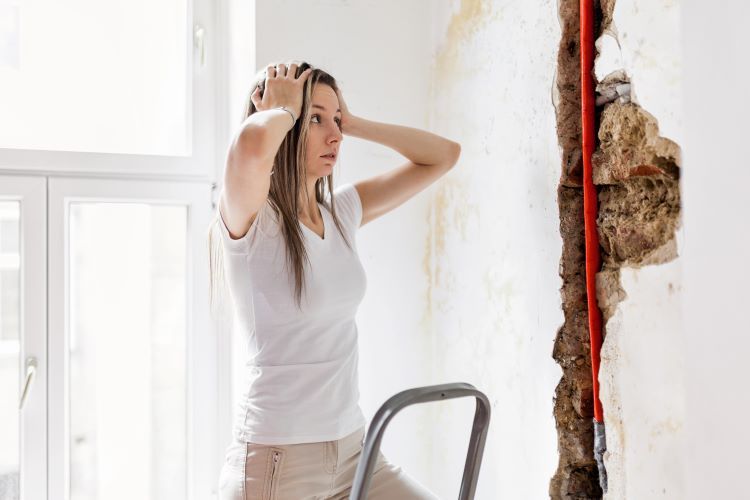
- Choose the Right Primer: For basement walls, consider using a moisture-resistant primer, especially if your basement is prone to dampness. This adds an extra layer of protection against potential water damage.
- Apply Evenly: Use a roller for large areas and a brush for edges and corners. Ensure the primer is applied evenly without drips or heavy spots. Allow it to dry fully before applying paint.
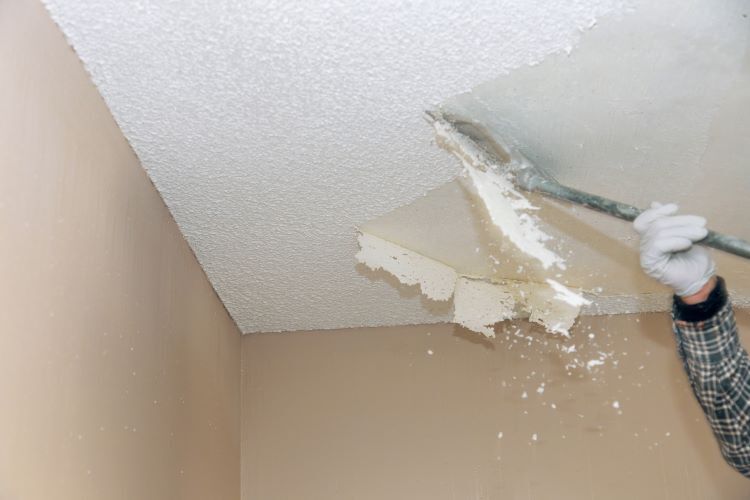
5. Texturing: Adding Character or Concealing Imperfections
While a smooth finish is a classic choice, adding texture to your drywall can enhance the visual appeal of your basement and help conceal minor imperfections. Several texturing techniques can be used, including:
- Knockdown: This technique involves applying joint compound to the walls with a trowel or spray gun, then “knocking down” the peaks with a drywall knife to create a subtle, mottled texture.
- Orange Peel: Similar to knockdown but with a finer, more uniform texture, orange peel is applied with a spray gun and provides a modern look that can also hide imperfections.
- Skip Trowel: This hand-applied texture involves “skipping” a trowel over the surface of wet joint compound, creating a rustic, slightly rough finish that adds character to the walls.
Texturing can add depth and interest to your basement’s design, but it’s important to choose a technique that complements the overall aesthetic you’re aiming for.
6. Final Touches: Baseboards, Trim, and Lighting
Once your drywall is finished and painted, the final touches will pull everything together for a seamless look. Baseboards and trim should be installed carefully to cover any gaps where the drywall meets the floor or ceiling. Choose trim that complements your basement’s style, whether it’s a simple, modern design or something more ornate.
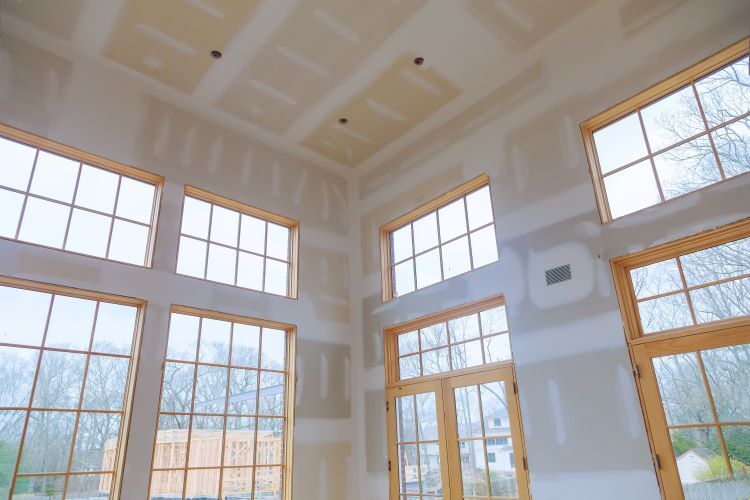
Lighting plays a significant role in how your finished walls will look. Well-placed lighting can highlight the smoothness of your drywall and enhance the overall ambiance of the space. Recessed lighting is a popular choice for basements, as it provides ample light without taking up visual space.
Conclusion
Achieving a seamless look with basement drywall finishing requires attention to detail and expertise in every step of the process. From proper installation and meticulous mudding to careful sanding and texturing, each technique plays a crucial role in the final result.
At London Drywallers, we specialize in delivering high-quality drywall finishing that transforms your basement into a beautiful, polished space. Whether you’re completing a DIY project or looking for professional help, contact us today to learn how we can help you achieve the perfect finish for your basement walls.