Say Goodbye to Popcorn Ceilings: A Step-by-Step Removal Guide
Popcorn ceilings, also known as acoustic or stipple ceilings, were once a popular choice for homes built between the 1950s and 1980s. However, what was once trendy is now considered outdated, leaving many homeowners eager to get rid of this textured finish. Removing popcorn ceilings can dramatically modernize your home, giving it a cleaner, more polished look.
If you're in London, Ontario, and looking to update your home, London Drywallers is here to guide you through the process. In this step-by-step guide, we'll walk you through how to safely and efficiently remove popcorn ceilings to transform your space.
Why Remove Popcorn Ceilings?
Before diving into the removal process, it's essential to understand why many homeowners choose to eliminate popcorn ceilings:
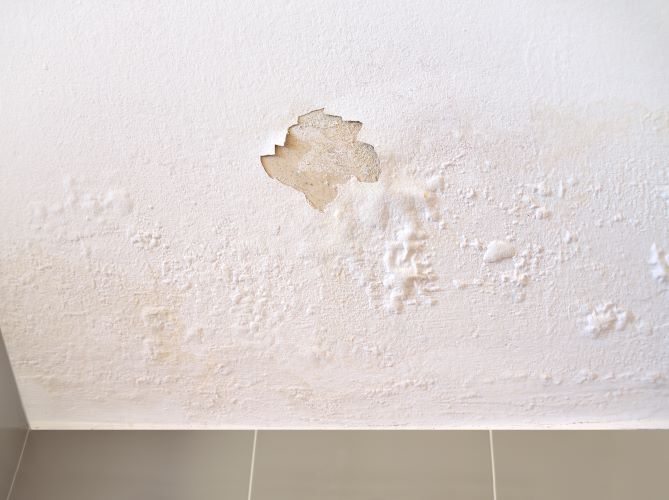
- Outdated Appearance: Popcorn ceilings can make a space look dated and can be challenging to paint or repair.
- Dust and Dirt Accumulation: The bumpy texture attracts dust, cobwebs, and grime, making it harder to keep your ceilings clean.
- Potential Asbestos Risk: Homes built before the 1980s may contain asbestos in the popcorn texture, which poses health risks if disturbed.
- Increased Home Value: Removing popcorn ceilings can increase the appeal and value of your home, especially if you're planning to sell.
Tools and Materials You’ll Need
Before you start the popcorn ceiling removal process, gather the following tools and supplies:
- Safety goggles
- Dust mask or respirator
- Drop cloths or plastic sheeting
- Painter’s tape
- Spray bottle filled with water
- Putty knife or drywall scraper
- Step ladder
- Joint compound (for patching any damage)
- Sandpaper (150-220 grit)
- Ceiling paint and primer (for finishing)
Note: If your home was built before 1980, it's crucial to have the ceiling tested for asbestos before proceeding. If asbestos is present, hire a professional removal service.
Step 1: Prepare the Room
Popcorn ceiling removal can be a messy job, so proper preparation is key to minimizing cleanup afterward.
- Clear the Room: Remove all furniture, light fixtures, and decor from the room.
- Cover Surfaces: Use drop cloths or plastic sheeting to cover floors and any remaining items. Secure the edges with painter’s tape to prevent any damage from moisture.
- Turn Off Power: If you're working near light fixtures, turn off the power at the circuit breaker to avoid any electrical hazards.
Step 2: Protect Yourself
Safety is paramount when removing popcorn ceilings, especially if you're unsure about asbestos content.
- Wear Protective Gear: Put on safety goggles, a dust mask or respirator, and gloves to protect yourself from dust and debris.
- Ventilate the Area: Open windows and doors to allow fresh air to circulate and reduce dust accumulation.
Step 3: Spray and Soften the Texture
To make the scraping process easier, it's essential to soften the popcorn texture.
- Fill a Spray Bottle with Water: Lightly mist a section of the ceiling with water. Avoid soaking the area, as excessive moisture can damage the drywall underneath.
- Wait for a Few Minutes: Allow the water to penetrate and soften the texture for about 10-15 minutes.
Pro Tip: Work in small sections (around 4x4 feet) to prevent the ceiling from drying out before you can scrape it off.
Step 4: Scrape Off the Popcorn Texture
With the ceiling softened, it’s time to start scraping.
- Use a Putty Knife or Drywall Scraper: Gently scrape off the popcorn texture using a putty knife or scraper. Hold the tool at a slight angle to avoid gouging the drywall.
- Be Patient: This step can be time-consuming, so take your time to avoid damaging the ceiling.
Pro Tip: Use a wide putty knife or drywall scraper for faster results and to cover more surface area.
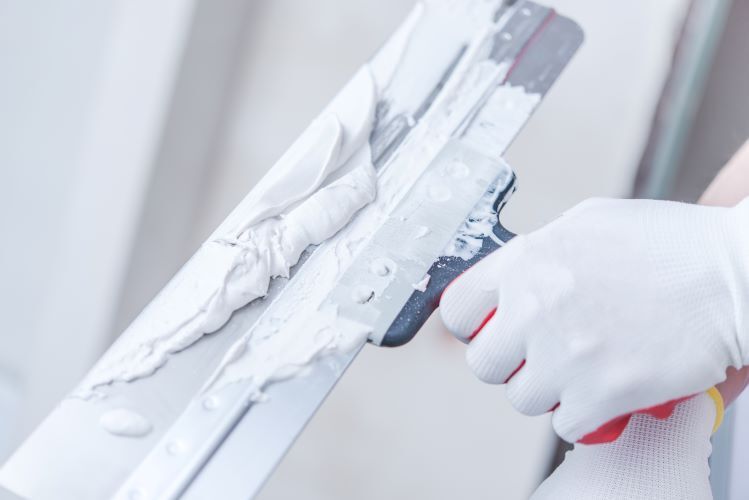
Step 5: Patch and Repair
Once you've removed the popcorn texture, inspect the ceiling for any damage.
- Fill Holes and Cracks: Use joint compound to patch any dents, holes, or imperfections.
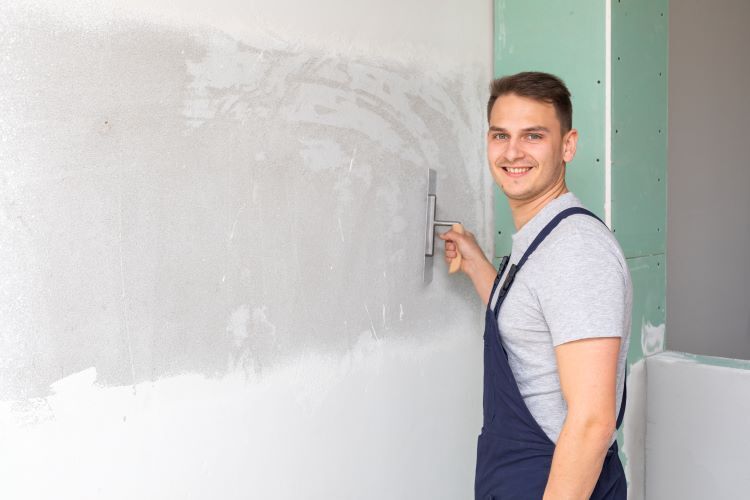
- Sand the Surface: Once the joint compound is dry, sand the ceiling with fine-grit sandpaper (150-220 grit) to achieve a smooth finish.
Step 6: Prime and Paint
With a clean and smooth ceiling, the final step is to prime and paint.
- Apply Primer: Start with a coat of primer to ensure better paint adhesion and to seal any remaining stains.
- Paint the Ceiling: Once the primer is dry, apply two coats of ceiling paint for a fresh, updated look.
Pro Tip: Use a paint roller with an extension handle to make the job easier and achieve an even finish.
When to Call the Professionals
While DIY popcorn ceiling removal can save money, it can also be labor-intensive and time-consuming. Additionally, if you encounter asbestos or lead paint, it's crucial to involve professionals. London Drywallers has the expertise and equipment to handle popcorn ceiling removal safely and efficiently, ensuring a flawless finish.
The Benefits of Professional Popcorn Ceiling Removal
Hiring a professional team like London Drywallers comes with several advantages:
- Expertise and Experience: Our team has years of experience removing popcorn ceilings, ensuring a smooth, damage-free process.
- Safety Compliance: We handle potential hazards like asbestos with proper safety measures.
- Time and Efficiency: What might take you days to complete, we can finish in a fraction of the time, with less mess.
Final Thoughts
Removing popcorn ceilings is a great way to modernize your home and improve indoor air quality. While it’s a project many homeowners can tackle themselves, enlisting professional help can save you time, effort, and stress—especially when dealing with older homes.
If you're in London, Ontario, and ready to say goodbye to those outdated popcorn ceilings, London Drywallers is here to help. Contact us today for a free consultation and let’s give your ceilings a fresh, modern look!