How to Repair Drywall After Electrical or Plumbing Work
When electrical or plumbing work is done in your home, it often involves cutting into the drywall to access pipes, wires, or other infrastructure behind the walls. While this is necessary for making repairs or upgrades, it leaves holes or damage that need to be properly repaired afterward. The good news is that repairing drywall after electrical or plumbing work is a manageable task, especially when you follow the right steps.
At London Drywallers, we specialize in drywall installation and repair, and we're here to guide you through the process of repairing drywall after these kinds of projects. Whether you're tackling the repair yourself or considering professional help, our expert advice will ensure that the finished product looks smooth, seamless, and as good as new.
Why Drywall Repair Is Important After Electrical or Plumbing Work
While it may seem like a minor issue, repairing the drywall after work is vital for a number of reasons:
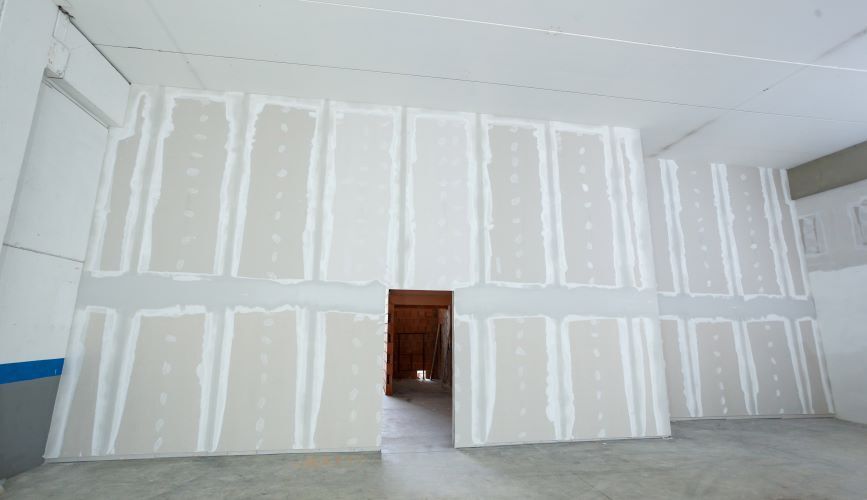
- Aesthetic Appeal: Holes or cuts in your walls detract from the overall look of your space. Repairing them restores the clean, polished look of your home.
- Energy Efficiency: Gaps in your drywall can let air escape, affecting your home's energy efficiency. Proper repairs help maintain insulation and reduce heating and cooling costs.
- Structural Integrity: Ensuring that your drywall is properly repaired ensures that there are no weak spots in the wall that could lead to future issues.
Tools and Materials You'll Need
Before you begin, gather the following tools and materials for the drywall repair:
- Drywall patch (if the hole is large)
- Joint compound (spackle or drywall mud)
- Putty knife or drywall knife
- Sandpaper or sanding block
- Primer and paint
- Drywall saw or utility knife
- Mesh or paper drywall tape
- Drywall screws (if needed)
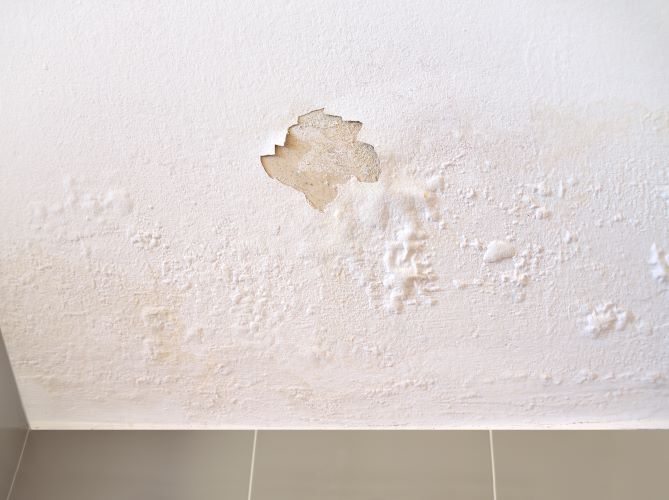
Step 1: Assess the Damage
The first step is to assess the size and extent of the damage. The repair method you use will depend on whether the hole is small (a few inches in diameter) or large (a section of the wall that’s been cut away).
- Small Holes (less than 1 inch): For tiny punctures, you’ll typically only need a bit of spackle or joint compound to fill in the gap.
- Medium to Large Holes (greater than 1 inch): If the hole is larger, you’ll need to cut a drywall patch to fit. This requires a bit more work, but with the right tools, it’s a straightforward process.
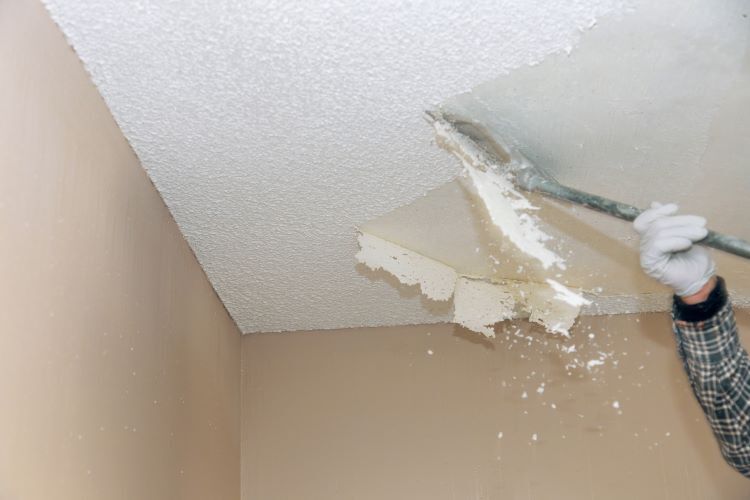
Step 2: Prepare the Area
Before repairing, you need to make sure the area is clean and dry.
- Remove Loose Debris: Use a utility knife or a drywall saw to remove any loose or jagged edges around the hole. If there are any protruding pieces of drywall or wires, trim them carefully.
- Check for Wires or Pipes: If you are working around electrical wiring or plumbing pipes, make sure that all the necessary safety precautions are taken. If you’re unsure about how to handle the electrical or plumbing aspects, it’s a good idea to consult a professional.
Step 3: Patch the Hole
For small holes, a simple application of joint compound or spackle will suffice. For larger holes, you will need to use a patch to cover the damaged area.
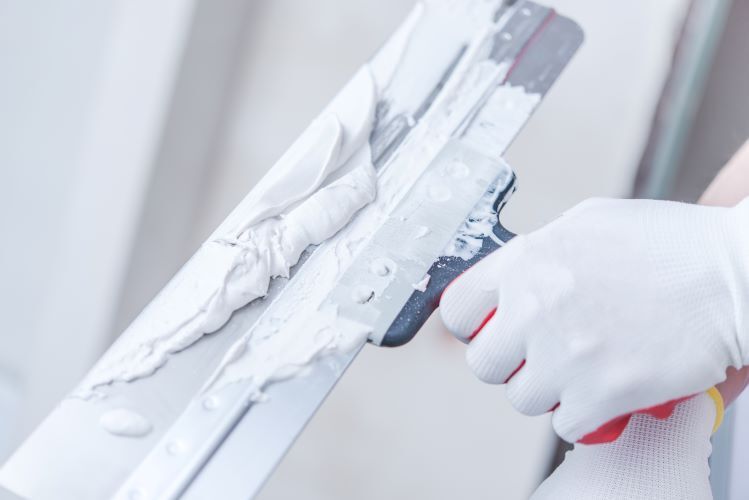
- Small Holes: Use a putty knife to apply joint compound directly into the hole. Smooth it over with the knife, feathering the edges so it blends with the surrounding wall. Let it dry completely, and then sand it smooth.
- Large Holes:
- Cut a piece of drywall to fit the hole. It should be slightly smaller than the hole itself so that it fits into place without gaps.
- Secure the patch by screwing it into place. If necessary, add additional support by attaching wood or metal backing behind the patch.
- Apply drywall tape around the edges of the patch, then cover the entire patch with joint compound. Smooth the compound evenly with a putty knife, feathering it out at the edges. Allow it to dry.
- Once the compound is dry, apply additional layers of joint compound as needed. Sand each layer as it dries to create a smooth, level surface.
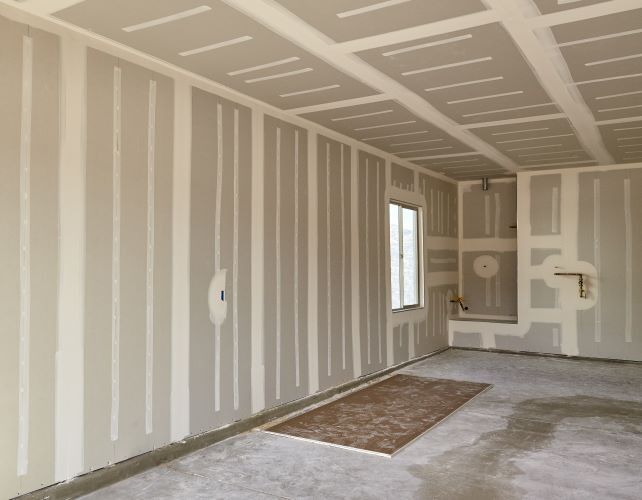
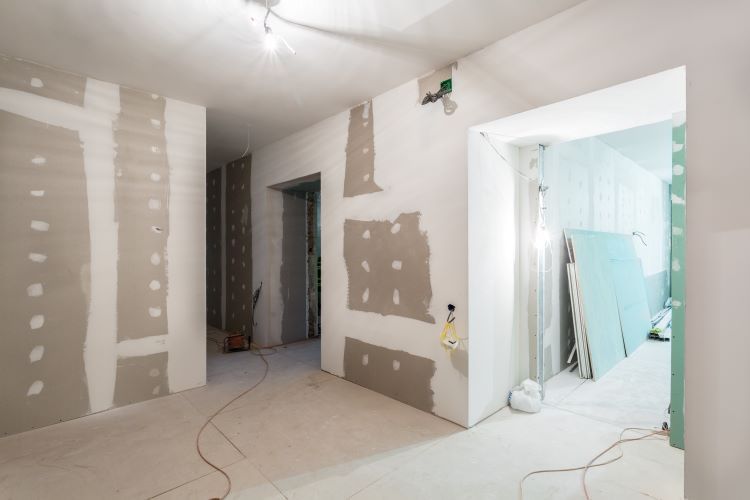
Step 4: Tape and Mud the Seams
If your patch requires drywall tape (for larger holes), now is the time to apply it. There are two common types of drywall tape: paper tape and mesh tape.
- Apply the Tape: Lay the drywall tape over the seams of the patch. If you’re using mesh tape, simply apply it to the edges of the patch. If you're using paper tape, apply a thin layer of joint compound to the seams first, then press the paper tape into the compound.
- Smooth the Compound: Once the tape is in place, apply a thin layer of joint compound over the tape. Use a drywall knife to smooth it out, feathering the edges so the patch blends seamlessly with the surrounding wall.
- Let It Dry: Allow the compound to dry completely. You may need to add additional layers, sanding between each layer for a smooth finish.
Step 5: Sand and Smooth the Surface
Once the compound is dry, it’s time to sand the surface. Use fine-grit sandpaper to smooth out any bumps or ridges. Be sure to sand carefully to avoid damaging the surrounding drywall. The goal is to make the patched area blend in with the rest of the wall.
- Dust Off the Surface: After sanding, wipe down the area with a damp cloth to remove dust and debris before applying primer or paint.
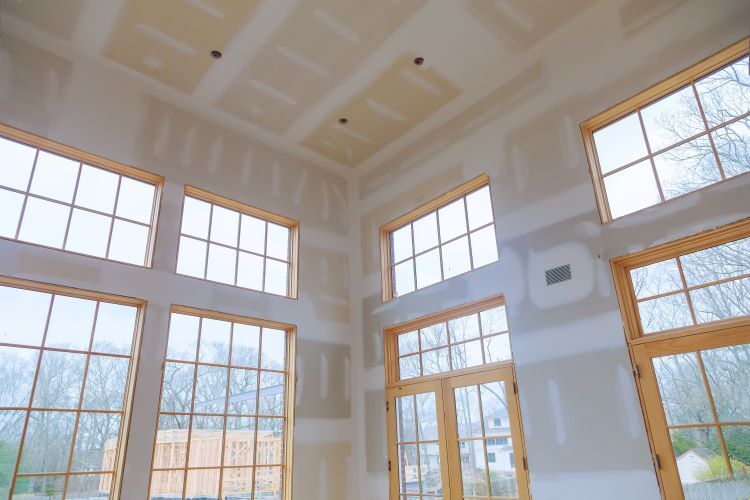
Step 6: Prime and Paint
To finish the repair, apply a coat of primer to the patched area. This helps the paint adhere properly and ensures that the repair doesn’t stand out.
- Prime the Patch: Use a quality drywall primer and apply it over the patched area. Allow it to dry.
- Paint the Wall: Once the primer has dried, paint over the patch with the same color and finish as the rest of the wall. It may take more than one coat to ensure an even, smooth appearance.
Conclusion
Repairing drywall after electrical or plumbing work doesn’t have to be a daunting task. With the right tools, materials, and techniques, you can restore your walls to their original condition. Whether you’re dealing with a small hole or a larger patch, the process is simple enough to handle on your own. However, if you prefer professional help, London Drywallers is here to assist with all your drywall repair needs. Our experienced team can make sure the job is done right, ensuring that your home looks as good as new.
Need help with your drywall repair? Contact London Drywallers today for expert services and a free estimate!