Drywall Taping and Mudding: When to Apply the Second Coat

Drywall taping and mudding are essential steps in creating a smooth and seamless finish for your walls and ceilings. Whether you’re working on a renovation, repair, or new construction project, knowing when to apply the second coat of mud is key to achieving professional-quality results.
At London Drywallers, we specialize in providing expert drywall services for both residential and commercial projects in London, Ontario. In this article, we’ll walk you through the basics of drywall taping and mudding, focusing on the importance of the second coat and when to apply it for a flawless finish.
The Basics of Drywall Taping and Mudding
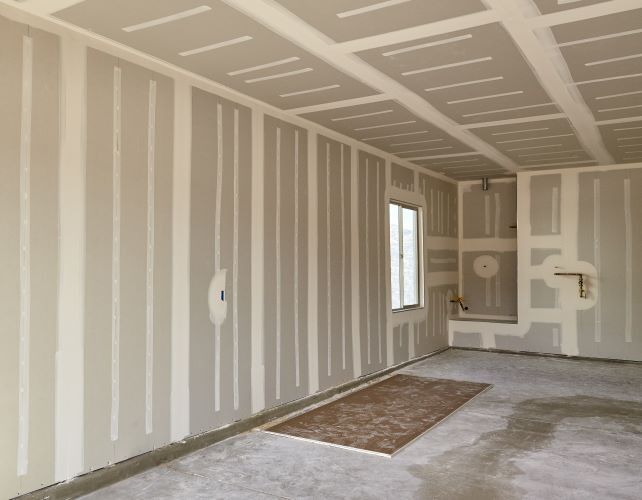
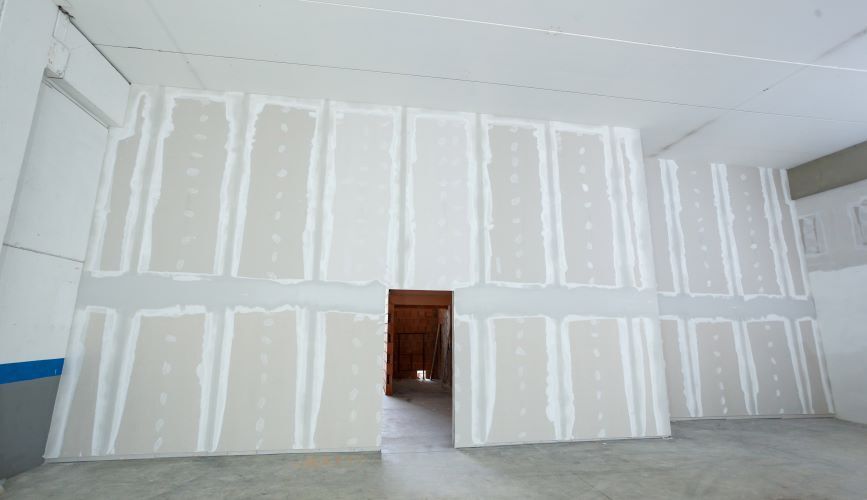
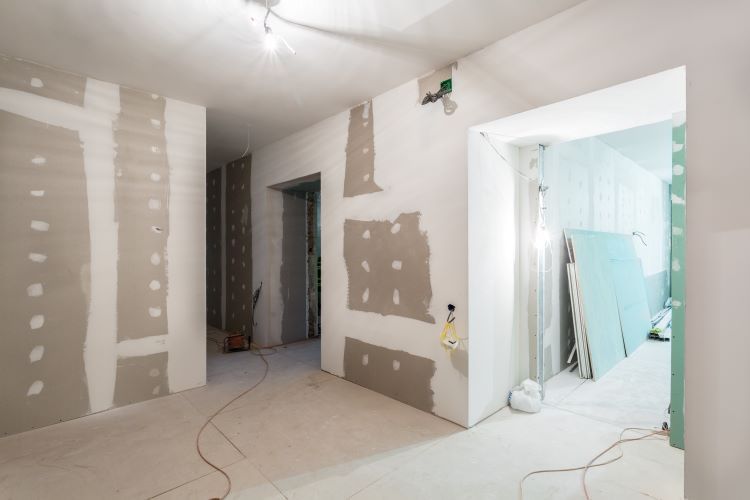
Drywall taping and mudding are processes used to cover the joints between drywall sheets, as well as to hide screws and other fasteners. The goal is to create a smooth, even surface that is ready for painting or other finishing treatments. Here’s a quick overview of the process:
- Taping: After drywall sheets are installed, a thin layer of joint compound (commonly called mud) is applied over the seams. Drywall tape is then placed over the wet mud to bridge the gap between the sheets and prevent cracks from forming.
- First Coat of Mud: The first coat of mud is applied over the tape to embed it and create a base layer for subsequent coats. This coat is typically thin and may leave some imperfections, which is normal at this stage.
- Second Coat of Mud: The second coat is essential for smoothing out any visible lines or imperfections from the first coat. It fills in gaps, feathers the edges, and starts to create that seamless look.
- Third Coat (if needed): A third and final coat may be applied to perfect the surface and ensure everything is smooth and level.
Why the Second Coat Is So Important
The first coat of mud serves as a foundation, but it’s the second coat that begins to smooth out the surface and hide imperfections. Without this critical step, you might end up with visible seams, tape lines, or uneven surfaces that will be more apparent after painting.
Here’s why the second coat matters:
- Smooths Seams and Tape Lines: The second coat helps to blend the edges of the tape into the surrounding drywall, making the joint less noticeable.
- Fills Imperfections: The first coat often leaves some gaps or imperfections, and the second coat fills these areas, giving the surface a more even finish.
- Prepares for Sanding and Final Finishes: The second coat is the precursor to sanding and any additional coats. It creates a smoother base, reducing the amount of sanding needed and allowing for better adhesion of the final coat.
When to Apply the Second Coat
Timing is crucial when applying the second coat of drywall mud. If applied too early, the first coat may not be dry enough, leading to issues like cracking or bubbles. Here are the factors to consider:
1. Drying Time of the First Coat
Before applying the second coat, you must ensure that the first coat is completely dry. The drying time can vary depending on:
- Type of Joint Compound: Standard joint compound takes longer to dry, sometimes up to 24 hours. Quick-setting compounds, such as hot mud, can dry in as little as 20 to 90 minutes.
- Environmental Conditions: Humidity, temperature, and airflow can impact drying times. In a humid environment, drying can take longer, so be patient before moving to the next step.
2. Signs the First Coat Is Ready for the Second Coat
You’ll know the first coat is ready for the second coat when:
- The surface is completely dry to the touch.
- The mud has turned from a darker, wet color to a lighter, chalky appearance.
- There are no soft spots when you press lightly on the surface.
3. Feathering the Edges
When applying the second coat, it’s important to feather the edges of the mud outward from the seam. Feathering creates a gradual transition between the drywall and the mudded seam, making it easier to achieve a smooth finish. Here’s how to feather effectively:
- Use a wider drywall knife for the second coat, usually an 8- to 10-inch knife.
- Apply the mud in thin, even layers, using sweeping motions to spread the compound out from the seam.
- Avoid creating any ridges or thick layers of mud, as these will require more sanding later.
4. Allow Proper Drying Time
Once you’ve applied the second coat, allow it to dry thoroughly before sanding or applying a third coat (if needed). As with the first coat, drying times depend on the joint compound and environmental conditions. For best results, wait until the mud is completely dry before proceeding.
Common Mistakes to Avoid During the Second Coat
While applying the second coat of mud, there are a few common mistakes that can hinder the quality of your finish. Here’s what to avoid:
- Applying the Second Coat Too Thick: A thick second coat will take longer to dry and may lead to uneven surfaces. Always aim for a thin, even application.
- Skipping the Feathering Process: Failing to feather the edges of the mud can result in noticeable ridges or lumps after sanding and painting.
- Not Sanding Between Coats: Lightly sanding between coats helps create a smoother finish. Use fine-grit sandpaper to knock down any high spots or ridges before applying the next layer of mud.
Conclusion
The second coat of mud is a crucial step in achieving a smooth and professional-looking drywall finish. By allowing the first coat to dry completely, feathering the edges of the second coat, and applying thin layers, you can create a surface that’s ready for painting or any final touches.
At London Drywallers, we have the expertise and attention to detail needed to complete every drywall project with precision and care. Whether you’re remodeling your home, finishing a basement, or completing new construction, our team is here to help with all your drywall needs in London, Ontario.
For more information or to get started on your next project, contact London Drywallers today!