Professional Tips for Installing Drywall in High-Moisture Areas
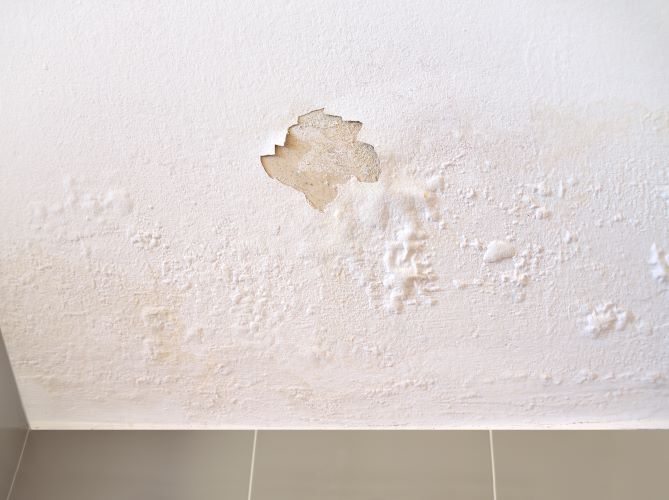
When it comes to installing drywall in high-moisture areas like bathrooms, basements, and kitchens, choosing the right materials and installation techniques can make a significant difference in durability and performance. Moisture can lead to mold, mildew, and structural issues if standard drywall is used without precautions. Here at London Drywallers, we specialize in drywall solutions tailored for London’s climate and specific high-moisture spaces. Here’s a comprehensive guide to achieving optimal results in these challenging environments.
1. Choose the Right Type of Drywall
Not all drywall is created equal. High-moisture areas require specific types that resist water and prevent mold growth. Here are some options to consider:
- Greenboard: Recognizable by its green coating, this drywall type is water-resistant and ideal for moderately moist areas, such as bathrooms or laundry rooms. However, it’s not suitable for areas with constant exposure to water, like shower stalls.
- Blueboard: Known for its mold and mildew resistance, blueboard is ideal for humid environments and provides an excellent base for veneer plaster.
- Cement Board: Composed of cement and fiberglass, cement board is extremely durable and water-resistant, making it perfect for areas with direct water contact, like showers or tub surrounds. It’s more challenging to install but provides the best moisture protection.
- Purple Drywall: This drywall type offers superior moisture and mold resistance, making it a versatile option for various high-moisture environments.
2. Use Mold-Resistant Drywall Products
Investing in mold-resistant drywall and joint compound is essential for high-moisture spaces. Mold-resistant drywall contains an anti-microbial coating that inhibits mold growth, keeping your walls safe and healthy. Pairing it with mold-resistant joint compound further enhances protection by creating an impermeable seal in joints and seams where moisture might accumulate.
3. Install Vapor Barriers in Moisture-Prone Areas
Adding a vapor barrier is a critical step to prevent moisture from penetrating your drywall installation. A vapor barrier, typically a sheet of plastic or foil, is installed behind the drywall to block moisture from seeping into the walls. This helps prevent mold growth and drywall degradation in areas where moisture levels can vary.
In colder climates, such as London’s, placing the vapor barrier on the warm side of insulation is key to preventing condensation buildup behind the drywall. If your installation is in a bathroom, using a paint-on vapor barrier can also offer added protection.
4. Ensure Proper Ventilation
Good ventilation is essential to maintaining low moisture levels in high-humidity areas. Make sure the space has sufficient airflow to prevent moisture from becoming trapped within the walls.
- Install Exhaust Fans: Exhaust fans in bathrooms and laundry rooms help remove excess moisture from the air. Ensure these fans are vented outside, not into the attic or other enclosed spaces, to prevent moisture buildup.
- Consider Dehumidifiers: For basements and other damp areas, using a dehumidifier helps control humidity levels and minimizes the chances of drywall damage over time.
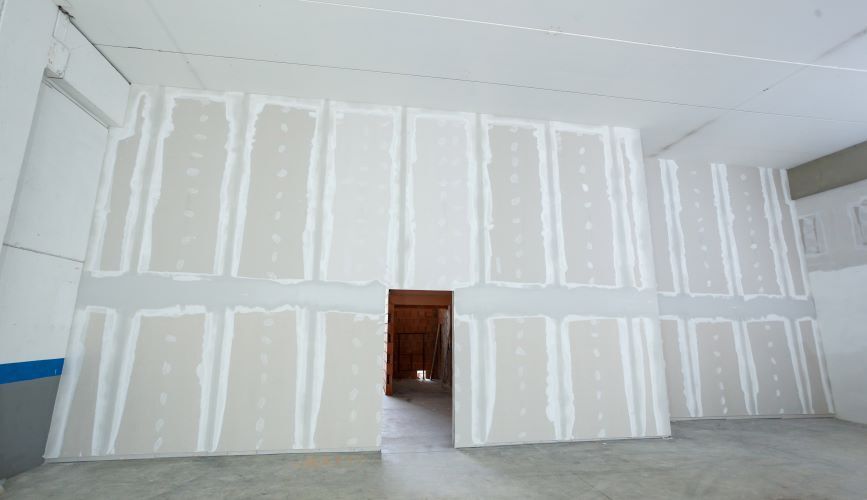
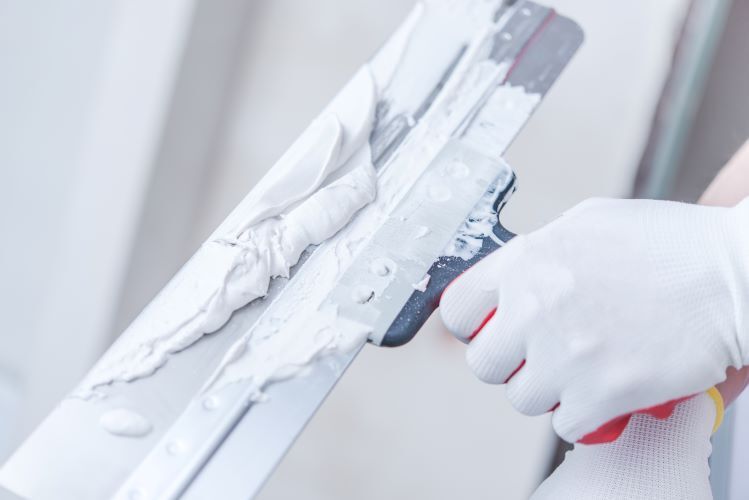
5. Seal Gaps and Joints Properly
Moisture often sneaks in through gaps and seams in drywall installations. Properly sealing these areas is critical for moisture resistance:
- Use High-Quality Joint Tape and Compound: For high-moisture areas, fiberglass mesh tape works better than paper tape as it’s mold-resistant and creates a more robust bond.
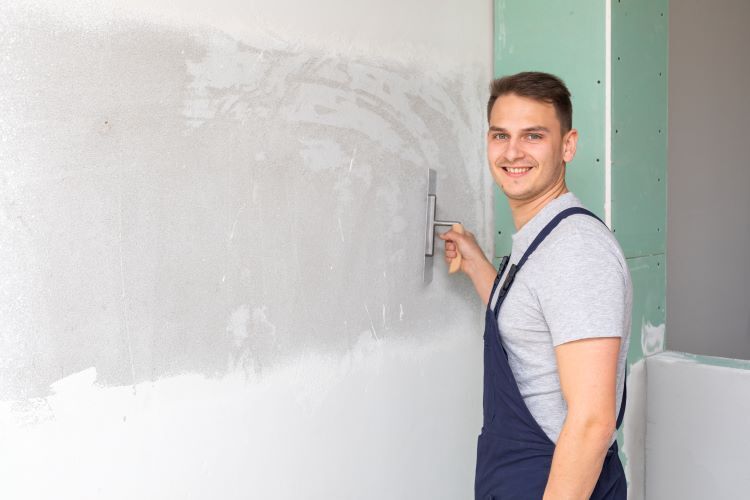
- Apply Multiple Layers of Joint Compound: To achieve a secure, moisture-resistant seal, apply at least two layers of mold-resistant joint compound, allowing each layer to dry thoroughly before sanding and adding the next.
- Finish with a Waterproof Sealant: Applying a waterproof sealant over seams and joints adds an extra layer of protection, particularly in areas like bathroom walls and laundry rooms.
6. Prime and Paint with Moisture-Resistant Products
To add extra durability, finish your drywall with a moisture-resistant primer and paint:
- Moisture-Resistant Primer: Using a primer specifically designed for high-moisture environments can prevent water from penetrating through paint and reaching the drywall.
- Mildew-Resistant Paint: Choose paints labeled for kitchen and bathroom use as these often contain mildew inhibitors, keeping your walls clean and fresh for longer.
For an added layer of durability in areas exposed to heavy moisture, consider semi-gloss or satin finishes, as these are more resistant to moisture than flat finishes.
7. Avoid Cutting Corners in High-Moisture Spaces
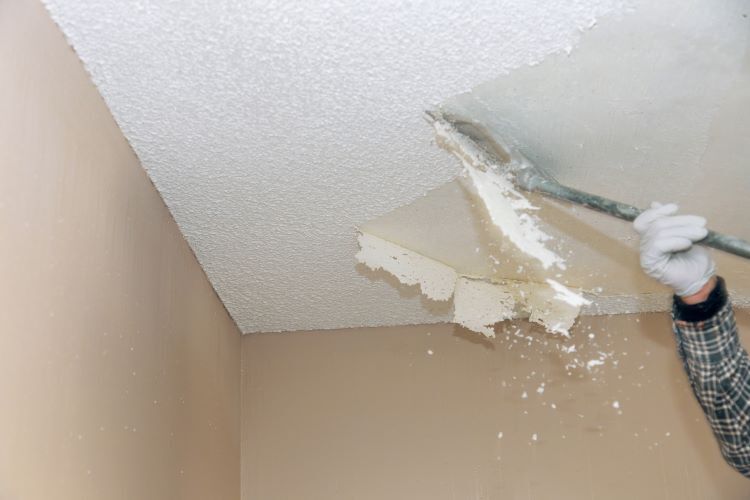
Installing drywall in high-moisture areas demands meticulous attention to detail. Avoid shortcuts like using regular drywall or skipping steps like applying joint compound between layers. High-moisture areas require extra durability, and careful installation ensures that your drywall will withstand the unique challenges posed by these environments.
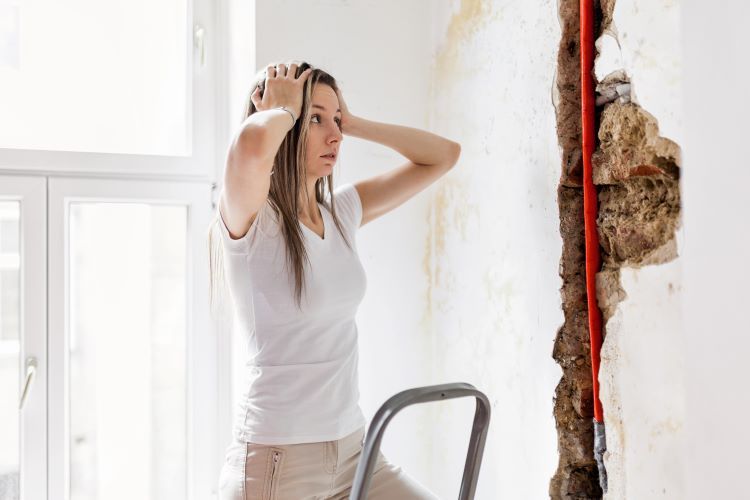
8. When to Call a Professional
High-moisture drywall installation involves technical considerations and often requires specialized tools. If you’re working on a space particularly prone to moisture or have a large-scale project, it’s often best to call a professional. At London Drywallers, we have the experience and materials necessary to handle drywall projects in challenging conditions. From selecting the right materials to completing precise installations, we’re here to ensure that your high-moisture area remains safe and dry for years to come.
Conclusion
Installing drywall in high-moisture areas demands careful planning and the right materials. By following these professional tips, you can create walls that withstand moisture and maintain their integrity over time. For high-quality drywall installation in London, trust London Drywallers to deliver the expertise and durability your home deserves.