Preparing Your Drywall for a Flawless Paint Job
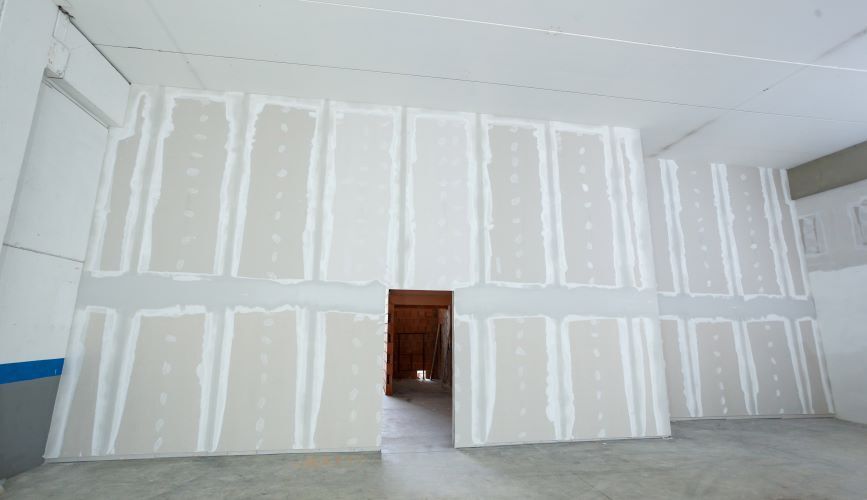
When it comes to interior design, nothing elevates a space quite like a fresh coat of paint. However, to achieve a truly flawless finish, the key lies in proper drywall preparation. Without it, even the best paint job can look uneven, rough, or amateurish. If you're planning to repaint a room, it's essential to understand the steps required to prepare your drywall for a smooth and professional-looking result. In this article, we’ll walk you through the essential steps to ensure your drywall is ready for a flawless paint job.
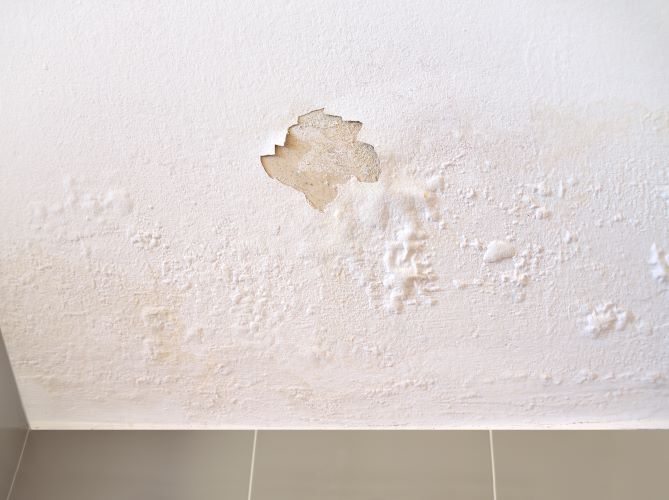
1. Inspect the Drywall for Imperfections
Before you begin any painting project, it's crucial to inspect the drywall thoroughly. Look for any imperfections such as dents, cracks, nail pops, or holes. These flaws, if left untreated, will be glaringly obvious once the paint is applied, detracting from the overall appearance of the room.
Common Drywall Imperfections:
- Nail Pops: Small bulges or dimples where nails or screws have slightly popped out of the drywall.
- Dents: Minor depressions caused by furniture, door handles, or accidental impacts.
- Cracks: Often found near windows, doors, or corners, typically caused by settling or structural movement.
- Holes: Typically left behind from picture hangers, nails, or wall anchors.
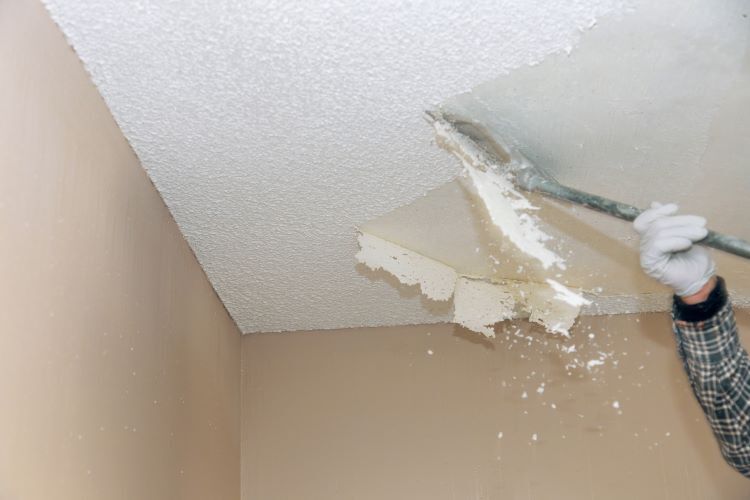
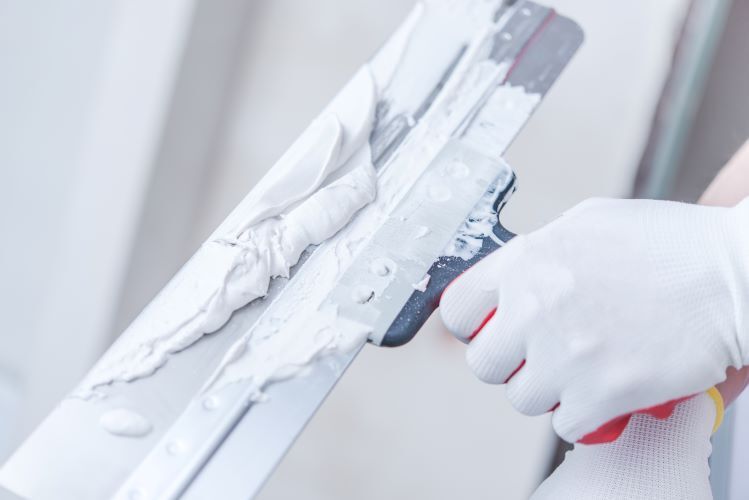
2. Repairing the Drywall
Once you've identified any imperfections, it's time to repair them. Depending on the extent of the damage, different techniques may be required:
- For Small Holes and Cracks: Use a lightweight joint compound (also known as mud) to fill in small holes and cracks. Apply the compound using a putty knife, smoothing it out to ensure an even surface. Once the compound dries, lightly sand the area to blend it with the surrounding wall.
- For Nail Pops: If you encounter nail pops, remove the protruding nail or screw it back in securely. Then, apply joint compound over the area, smooth it out, and sand it once dry.
- For Larger Holes: Larger holes may require a patch. Cut a piece of drywall to fit the hole, secure it with drywall screws, and apply joint compound around the edges to blend it with the existing wall. Sand the area after the compound dries.
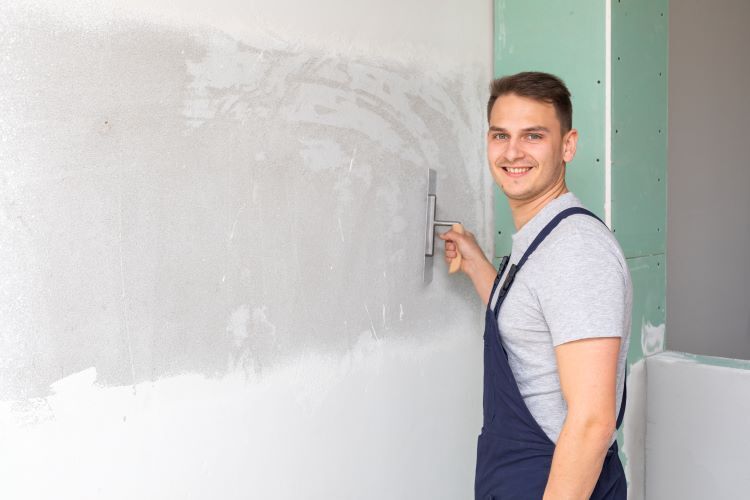
3. Sanding for a Smooth Finish
Sanding is one of the most critical steps in preparing drywall for painting. Even if your drywall looks smooth to the naked eye, slight imperfections can become evident once paint is applied.
- Use Fine-Grit Sandpaper: Opt for fine-grit sandpaper (between 120 and 150 grit) to avoid creating scratches on the drywall. Sand all the areas where joint compound was applied and any other rough patches.
- Sand Lightly: Apply light pressure when sanding. The goal is to smooth out the surface without damaging the drywall. Be sure to sand in a circular motion to create an even finish.
- Inspect for Smoothness: After sanding, run your hand over the surface to ensure it's completely smooth. If you feel any rough spots, sand them again.
4. Priming the Drywall
Priming is an essential step that should never be skipped. Primer helps to seal the drywall, providing a uniform surface for the paint to adhere to. It also enhances the durability of the paint job and ensures that the color you choose appears consistent across the entire wall.
- Choose the Right Primer: Use a high-quality drywall primer. If you're painting a room with moisture exposure, such as a bathroom or kitchen, consider a primer with moisture-resistant properties.
- Apply Evenly: Use a roller to apply the primer evenly across the drywall. For corners and edges, use a brush to ensure full coverage. Allow the primer to dry completely before proceeding to paint.
5. Final Inspection
Before you start painting, take a final look at your drywall. Check for any missed imperfections, rough spots, or areas where the primer may not have adhered properly. Address any issues by sanding and priming as needed.
Once you're satisfied with the condition of your drywall, you can confidently proceed with painting, knowing that you've laid the groundwork for a flawless finish.
Conclusion
Proper drywall preparation is the foundation of a successful painting project. By taking the time to repair imperfections, sand for smoothness, and apply a quality primer, you can achieve a professional-looking paint job that will enhance the beauty and value of your home.
If you're planning a painting project and want to ensure your drywall is perfectly prepped, consider working with London Drywallers. Our experienced team in London, Ontario, specializes in drywall repair, finishing, and preparation, ensuring that your walls are ready for a flawless paint job. Contact us today to learn more about our services and how we can help you achieve stunning results.