How to Seamlessly Blend Drywall Patches with Existing Walls
Repairing drywall can often seem like a daunting task, especially when it comes to blending patches seamlessly with existing walls. At London Drywallers, we understand the importance of a flawless finish in maintaining the aesthetic appeal of your home. Whether you're fixing small holes or larger sections of damaged drywall, following the right techniques ensures a professional-looking result. Here’s a step-by-step guide to help you achieve a seamless blend.
Step 1: Prepare the Area
Gather Your Tools and Materials
- Utility knife
- Sanding sponge or sandpaper (120-150 grit)
- Drywall compound (joint compound)
- Drywall tape (paper or mesh)
- Putty knife (4-inch and 12-inch)
- Primer and paint
- Drop cloths and painter’s tape
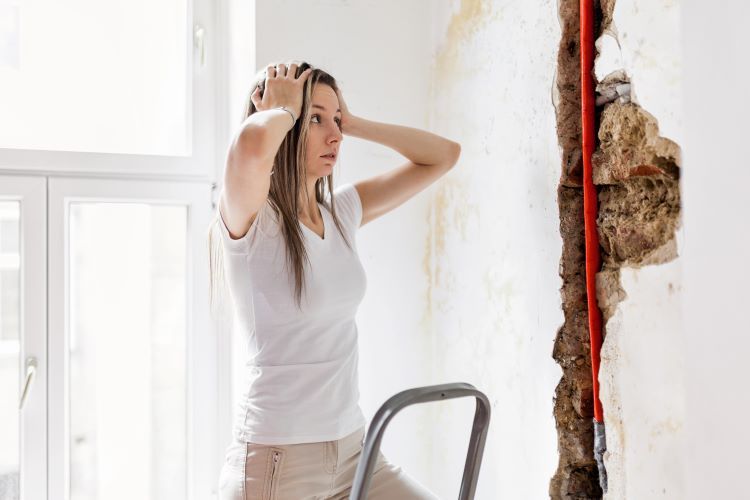
Protect Your Workspace
Lay down drop cloths to protect your floors and tape off areas you want to keep clean. Remove any furniture or cover it with plastic sheeting.
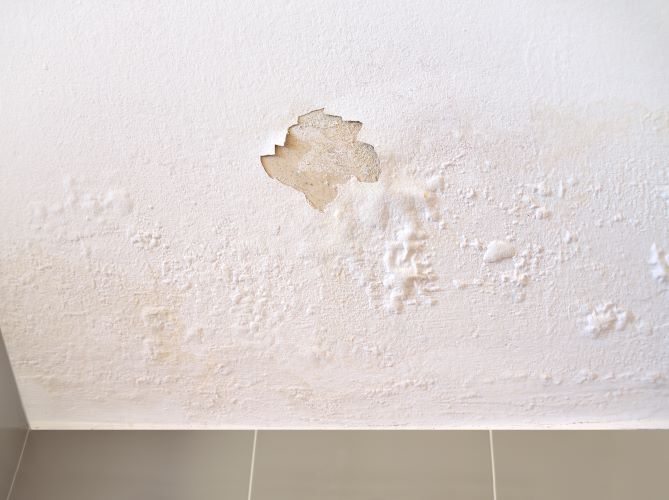
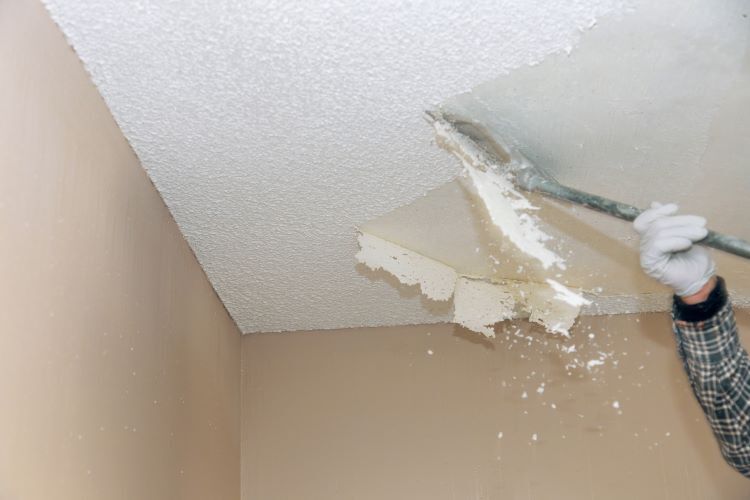
Step 2: Cut Out the Damaged Area
Use a utility knife to cut out the damaged section of drywall, creating a clean, square or rectangular hole. Ensure the edges are smooth and free of loose material. For small holes, you can use a drywall patch kit instead.
Step 3: Install the Drywall Patch
For Small Holes:
- Attach the Patch: Stick a self-adhesive mesh patch over the hole.
- Apply First Layer of Compound: Spread a thin layer of joint compound over the patch using a 4-inch putty knife.
For Larger Holes:
- Cut a New Drywall Piece: Cut a piece of drywall to fit the hole snugly.
- Secure the Patch: Use drywall screws or clips to secure the patch to the existing wall.
- Tape the Seams: Apply drywall tape over the seams where the new patch meets the existing wall.
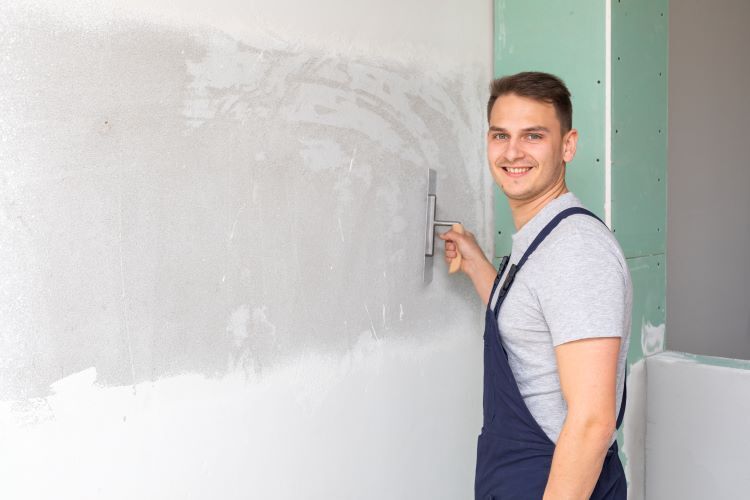
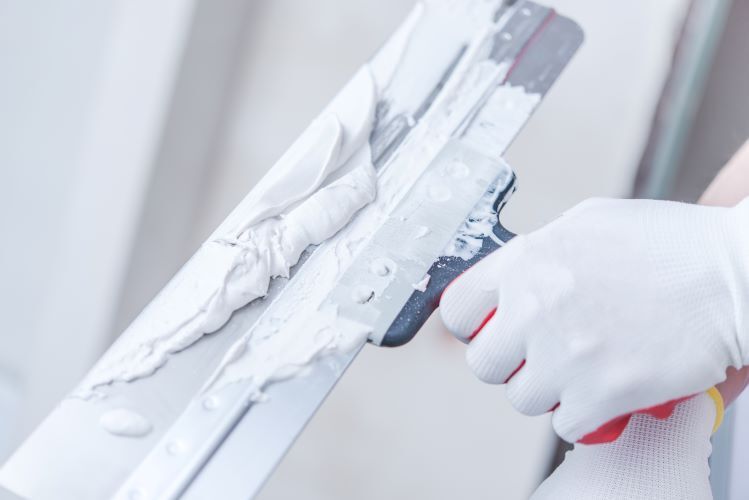
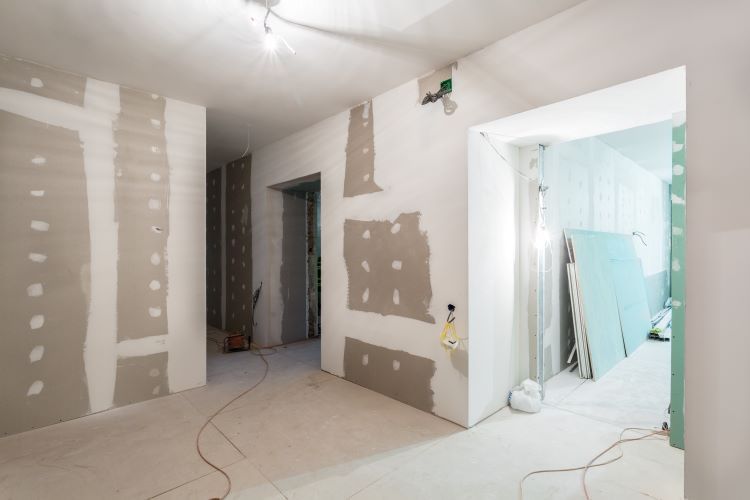
Step 4: Apply Joint Compound
First Coat:
- Cover the Tape: Spread a thin layer of joint compound over the tape and patch, feathering the edges out onto the surrounding wall.
- Smooth It Out: Use a 4-inch putty knife to smooth the compound, ensuring there are no lumps or ridges.
Second Coat:
- Apply a Wider Coat: After the first coat has dried (usually 24 hours), apply a second, wider coat of joint compound using a 12-inch putty knife. Feather the edges further out to blend with the wall.
- Sand Smooth: Once dry, lightly sand the area to smooth out any imperfections. Use a sanding sponge or fine-grit sandpaper.
Third Coat (if needed):
- Final Touch-Up: Apply a final thin coat of joint compound if necessary, feathering the edges well. Sand smooth after drying.
Step 5: Prime and Paint
Prime the Area:
Apply a coat of primer over the patched area to ensure the paint adheres properly and covers evenly. This step is crucial for preventing the patch from showing through the final paint layer.
Paint the Wall:
- Color Match: Ensure your paint matches the existing wall color. If needed, take a paint chip to the store for an exact match.
- Blend the Edges: Start painting over the patched area and feather outwards to blend with the existing wall. Use a roller for large areas and a brush for edges and corners.
- Multiple Coats: Apply multiple thin coats of paint, allowing each to dry thoroughly before applying the next, for a smooth and even finish.
Tips for a Flawless Finish
- Work in Thin Layers: Applying thin layers of joint compound and paint helps prevent noticeable ridges and allows for easier blending.
- Feathering Technique: Feathering the edges of your joint compound and paint means gradually thinning out the material as you move away from the patch, creating a seamless transition.
- Lightly Sand Between Coats: Light sanding between coats of joint compound and paint ensures a smooth surface.
- Use Quality Tools and Materials: High-quality joint compound, primer, paint, and tools make a significant difference in the final result.
Conclusion
Seamlessly blending drywall patches with existing walls is a skill that requires patience and attention to detail. By following these steps, you can achieve a professional finish that maintains the aesthetic integrity of your home. For expert drywall repair and seamless blending in London, Ontario, trust the professionals at London Drywallers.
Contact us today for all your drywall needs and ensure your home looks its best.