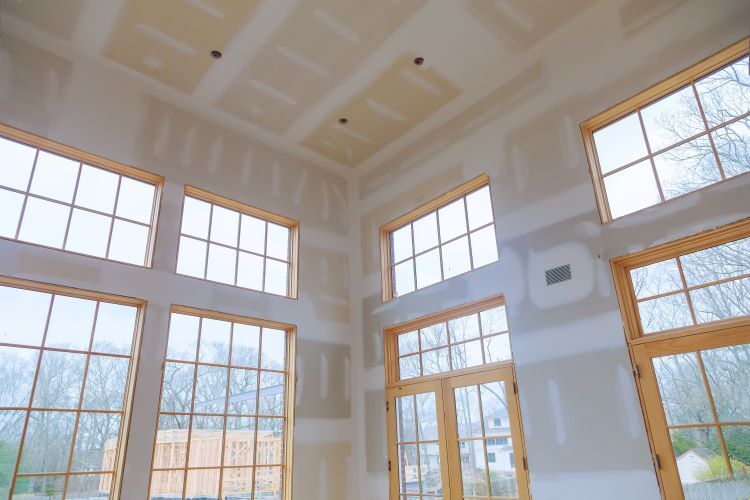
How to Prepare Your Walls for Drywall Installation
Installing drywall is a crucial step in any construction or renovation project. Proper preparation of your walls can make the installation process smoother and ensure a high-quality finish. At London Drywallers, we take pride in delivering top-notch drywall services to our clients in London, Ontario. In this article, we’ll guide you through the essential steps to prepare your walls for drywall installation, ensuring a seamless and professional result.
Step 1: Clear the Workspace
Before you begin any preparation work, make sure to clear the area where the drywall will be installed. Remove any furniture, fixtures, and other obstructions to create a clean and accessible workspace. This will make it easier to move around and work efficiently during the installation process.
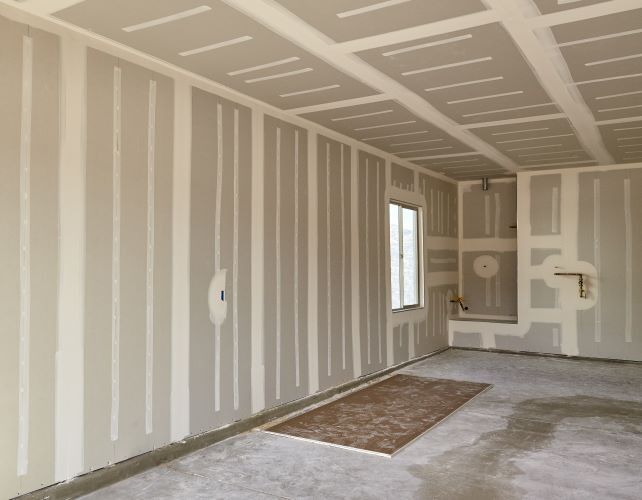
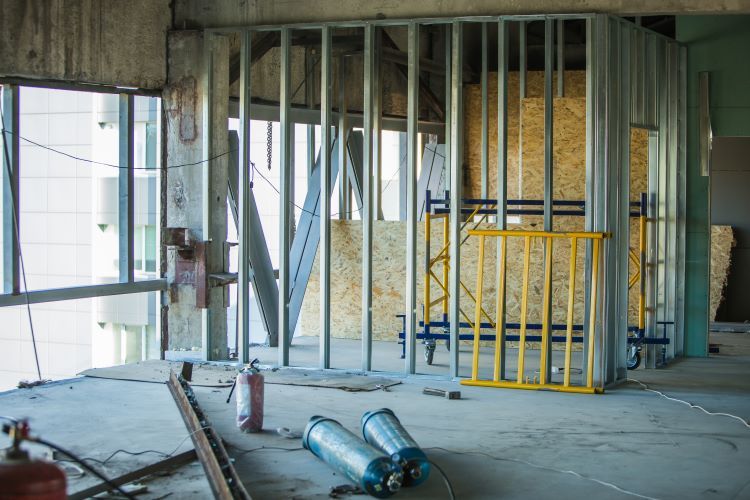
Step 2: Inspect the Wall Framing
Properly framed walls are the foundation for a successful drywall installation. Inspect the wall framing to ensure it is structurally sound and free from any defects. Check for the following:
- Stud Alignment: Make sure the wall studs are evenly spaced and aligned correctly. The standard spacing for studs is 16 inches on center, but it can vary depending on the specific project requirements.
- Secure Fastening: Ensure that all studs are securely fastened to the top and bottom plates. Loose or poorly secured studs can cause problems during drywall installation.
- Bracing and Blocking: Install any necessary bracing or blocking to provide additional support, especially in areas where fixtures, shelves, or cabinets will be mounted.
Step 3: Address Electrical and Plumbing Components
Before installing drywall, it's essential to take care of any electrical and plumbing work within the walls. This includes:
- Electrical Wiring: Ensure all electrical wiring is properly installed and secured. Use electrical boxes that are flush with the wall framing to accommodate the drywall.
- Plumbing Pipes: Check that all plumbing pipes are correctly installed and insulated if necessary. Make sure pipes are securely fastened to prevent movement that could damage the drywall.
- Fixture Placement: Verify the placement of electrical outlets, switches, and plumbing fixtures. Mark their locations on the framing to ensure accurate cutouts during drywall installation.
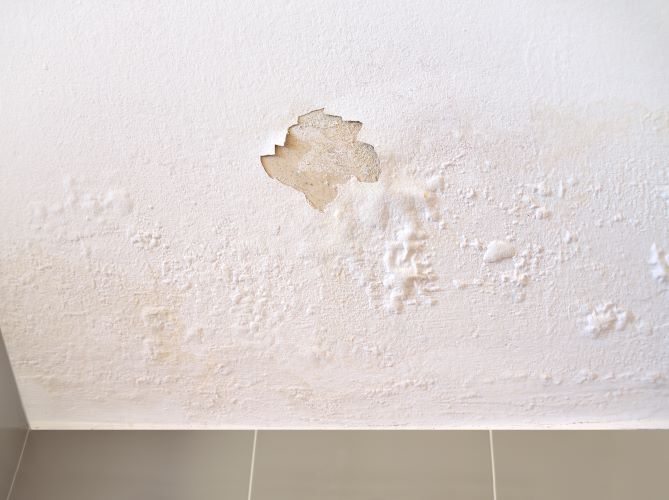
Step 4: Insulate and Vapor Barrier Installation
Insulating your walls is essential for energy efficiency and soundproofing. Additionally, in areas prone to moisture, a vapor barrier can help prevent mold and mildew growth. Follow these steps:
- Insulation: Install the appropriate type of insulation between the wall studs. Common options include fiberglass batts, foam board insulation, and spray foam insulation. Ensure the insulation is evenly distributed and fits snugly between the studs.
- Vapor Barrier: In moisture-prone areas like basements and bathrooms, install a vapor barrier over the insulation. This barrier helps prevent moisture from penetrating the walls and causing damage.
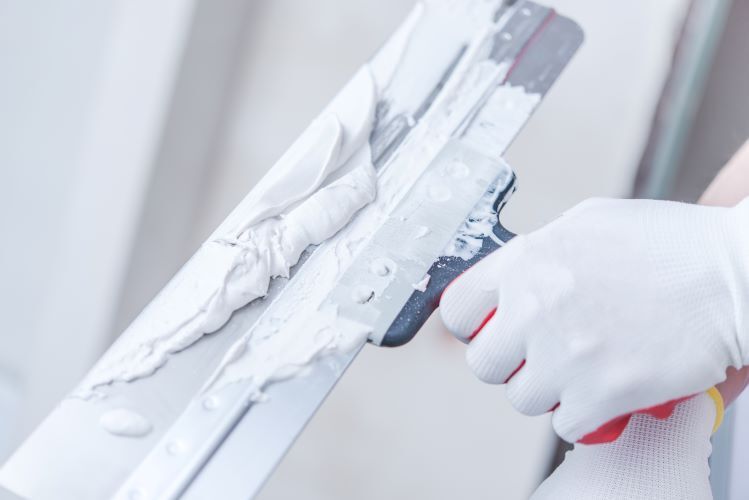
Step 5: Seal Gaps and Cracks
To achieve a smooth and professional finish, it's crucial to seal any gaps and cracks in the wall framing. Use caulk or expanding foam to fill in any gaps around windows, doors, and utility penetrations. This will help create an airtight seal and improve the overall insulation of the wall.
Step 6: Install Backing for Fixtures
If you plan to mount heavy fixtures, shelves, or cabinets on the walls, install additional backing between the studs. This can be done using plywood or metal plates. Secure the backing firmly to provide the necessary support for the fixtures.
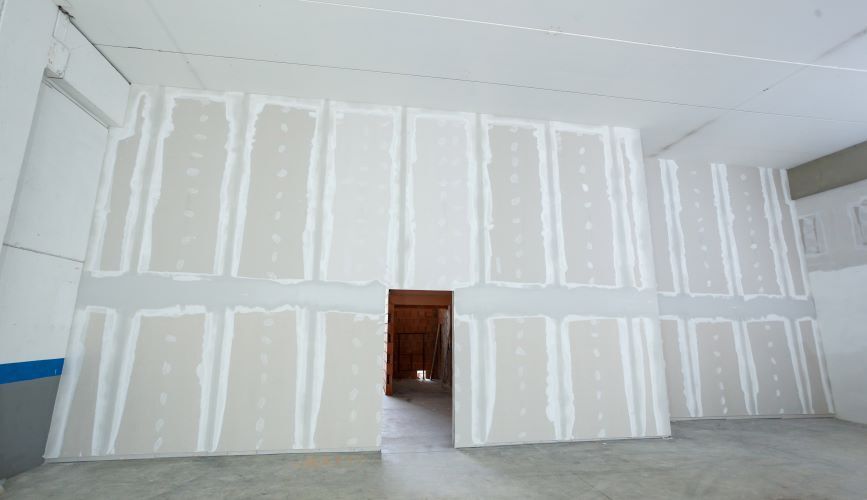
Step 7: Plan for Drywall Sheets
Before you start cutting and installing drywall sheets, plan their placement on the wall. Measure the wall dimensions and mark the locations where the sheets will be installed. This will help you minimize waste and ensure a precise fit.
Step 8: Gather Necessary Tools and Materials
Having the right tools and materials on hand is essential for a smooth drywall installation process. Some of the key tools and materials you'll need include:
- Drywall sheets
- Drywall screws or nails
- Utility knife
- T-square or drywall square
- Tape measure
- Drywall saw or rotary tool
- Drill or screw gun
- Joint compound
- Drywall tape
- Sanding tools
- Safety gear (gloves, goggles, dust mask)
Conclusion
Proper preparation is the key to a successful drywall installation. By following these steps, you can ensure that your walls are ready for drywall, resulting in a smooth and professional finish. At London Drywallers, we are dedicated to providing high-quality drywall services to our clients in London, Ontario. Whether you’re working on a new construction project or a renovation, our experienced team is here to help.
Contact us today to learn more about our services and how we can assist with your drywall needs.