How to Install Drywall Over Different Surfaces: Wood, Concrete, and More
Installing drywall is a key step in many home renovation projects. It creates a smooth, even surface that can be painted or finished to your liking. However, the process of installing drywall can vary depending on the surface you’re working with. Whether you’re dealing with wood, concrete, or another material, understanding the right techniques is essential for a successful installation. At London Drywallers, we specialize in drywall installation for various surfaces. Here’s a guide to help you navigate the process.
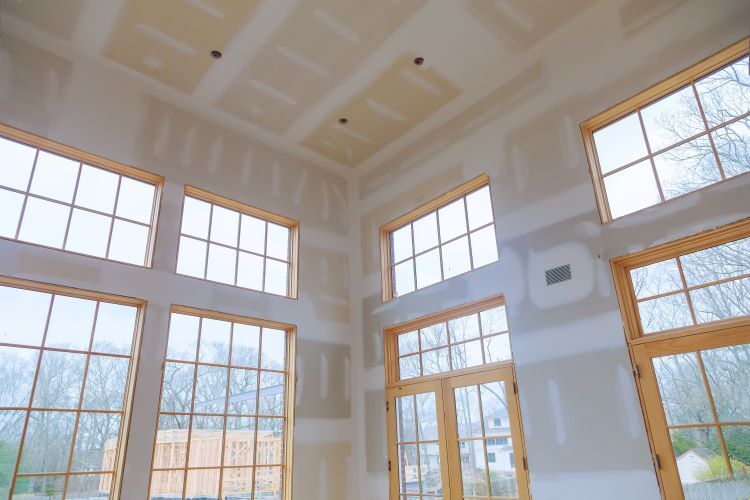
1. Installing Drywall Over Wood
Wood is one of the most common surfaces for drywall installation, especially in older homes with wooden studs or paneling. Here’s how to approach it:
a. Prepare the Surface
Before you begin, ensure the wooden surface is clean and free of debris. If you’re installing drywall over wooden studs, check that the studs are evenly spaced and straight. Use a level to confirm that the studs are aligned properly, as uneven studs can lead to an uneven drywall surface.
b. Attach the Drywall
Start by cutting the drywall panels to fit the area you’re covering. Place the drywall against the wood surface and secure it using drywall screws. For wooden studs, screws should be placed every 12-16 inches along the edges of the drywall and every 16-24 inches along the studs. Make sure the screws are driven in just below the surface of the drywall without breaking the paper surface.
c. Finish the Seams
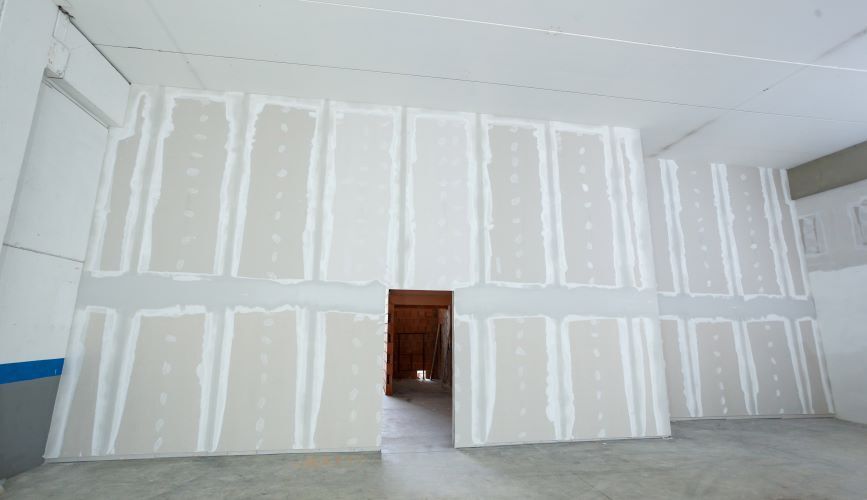
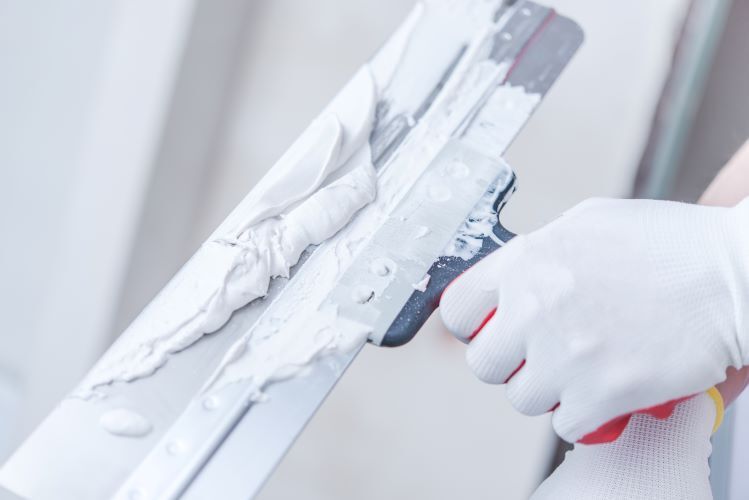
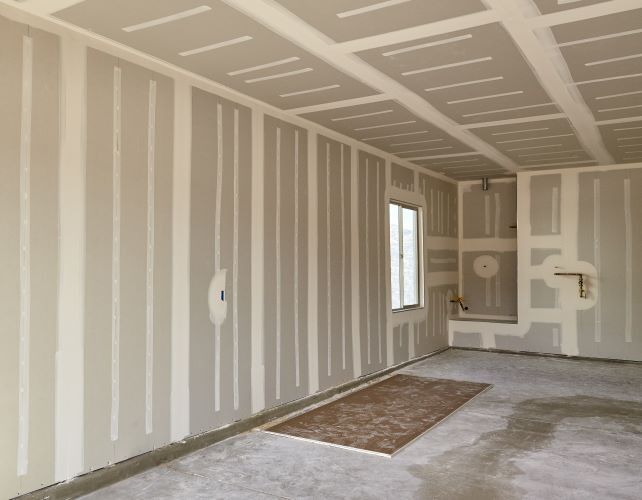
Once the drywall is attached, apply joint tape over the seams between the panels. Use a joint compound to cover the tape and smooth it out with a drywall knife. After the compound dries, sand it down for a smooth finish, then apply a second coat if necessary. Finally, sand the surface again to prepare it for painting or finishing.
2. Installing Drywall Over Concrete
Installing drywall over concrete presents unique challenges, as concrete doesn’t provide the same natural anchoring points as wood. Here’s how to handle it:
a. Frame the Surface
The first step in installing drywall over concrete is to create a frame. This can be done by attaching furring strips or building a stud wall. Furring strips are thin strips of wood that are fastened to the concrete to create a surface to which the drywall can be attached. If you’re building a stud wall, use treated lumber to prevent moisture damage from the concrete.
b. Insulate if Necessary
If the concrete wall is part of an exterior wall, consider adding insulation between the furring strips or studs before installing the drywall. This will help with energy efficiency and prevent moisture issues.
c. Attach the Drywall
Once the framing is in place, cut the drywall panels to size and secure them to the furring strips or studs using drywall screws. For added stability, use concrete screws to attach the furring strips directly to the concrete before attaching the drywall.
d. Finish the Seams
Apply joint tape and compound to the seams as you would with wood. Ensure the surface is smooth and ready for painting or finishing by sanding down the dried compound.
3. Installing Drywall Over Plaster
Plaster walls are common in older homes and present a different set of challenges for drywall installation. Here’s the process:
a. Assess the Condition of the Plaster
Before you begin, inspect the plaster wall for any cracks, holes, or loose areas. Repair any damage before proceeding with drywall installation. If the plaster is in poor condition, consider removing it and installing drywall directly onto the lath or studs.
b. Attach the Drywall
If the plaster is in good condition, you can install the drywall directly over it. Use longer drywall screws to ensure they penetrate the plaster and anchor securely into the wooden lath or studs behind it. Screws should be placed every 12-16 inches along the edges and every 16-24 inches in the field of the drywall.
c. Finish the Seams
As with wood and concrete, apply joint tape and compound to the seams, then sand the surface smooth once the compound is dry. This will create a seamless transition between the drywall and plaster, ready for painting or finishing.
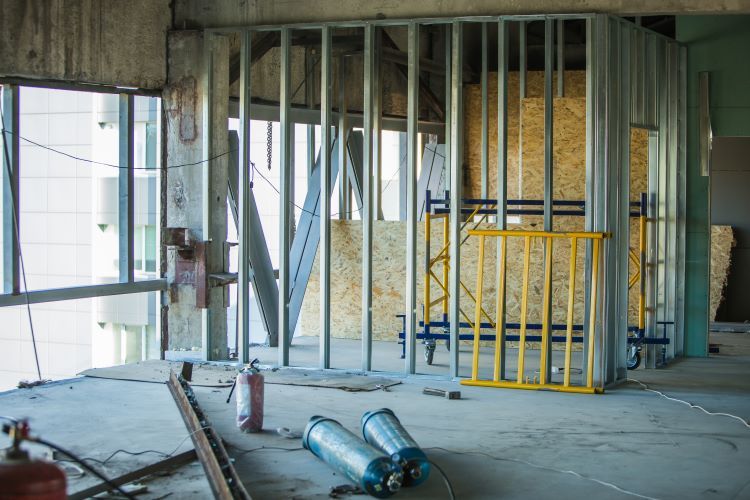
4. Installing Drywall Over Metal Studs
Metal studs are often used in commercial construction, but they’re becoming increasingly popular in residential projects as well. Here’s how to approach drywall installation over metal studs:
a. Use the Right Screws
Metal studs require special drywall screws designed for metal framing. These screws have a finer thread and are typically self-tapping, which makes them easier to install.
b. Attach the Drywall
Cut the drywall panels to size and hold them against the metal studs. Secure the drywall using the self-tapping drywall screws, placing them every 12-16 inches along the edges and every 16-24 inches in the field. Ensure the screws are driven just below the surface without tearing the paper.
c. Finish the Seams
Apply joint tape and compound as you would with wood or concrete. Sand the surface smooth after the compound dries, preparing it for paint or finishing.
Conclusion
Installing drywall over different surfaces requires a tailored approach to ensure a smooth, long-lasting finish. Whether you’re working with wood, concrete, plaster, or metal studs, following the proper steps will result in a professional-quality installation.
At London Drywallers, we have extensive experience working with a variety of surfaces and can handle any drywall installation project with precision and care. If you’re planning a renovation or need expert drywall installation, contact us today to learn more about our services and how we can help you achieve the perfect finish for your home.