Drywall Taping Techniques for Corners and Angles
Drywall taping is a crucial step in achieving a flawless finish on your walls and ceilings. For many DIY enthusiasts and professionals alike, mastering the art of taping, particularly around corners and angles, can be a challenging but essential skill. At London Drywallers, we understand that perfecting these techniques can significantly impact the final appearance of your drywall project. Here’s a comprehensive guide on drywall taping techniques for corners and angles to help you achieve smooth, professional results.
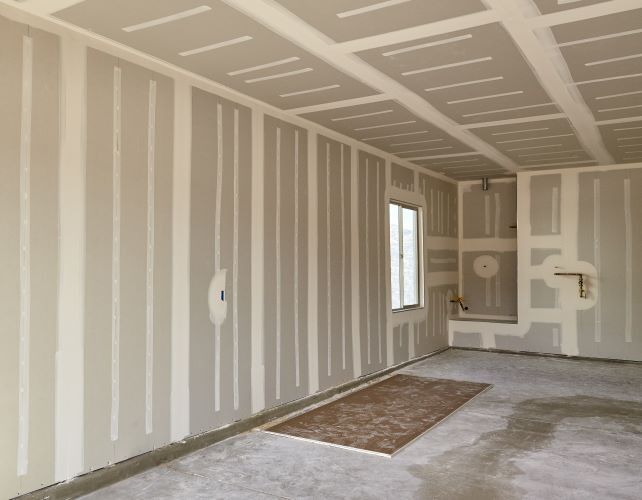
1. Preparing the Surface
Before you start taping, proper preparation is key:
- Clean the Surface: Ensure that the drywall surface is clean and free of dust or debris. Any residue can prevent the tape from adhering properly.
- Apply a Primer: Applying a thin coat of joint compound or primer to the drywall seams can improve adhesion and help the tape stick more effectively.
2. Taping Inside Corners
Inside corners, where two walls meet, require a precise approach to ensure a clean finish:
Materials Needed:
- Paper Tape or Fiberglass Mesh Tape: Paper tape is ideal for inside corners as it molds easily to the shape, while fiberglass mesh tape is more resistant to cracking but less flexible.
- Joint Compound: Used to embed the tape and create a smooth surface.
Technique:
- Cut the Tape: Measure and cut a piece of tape slightly longer than the corner.
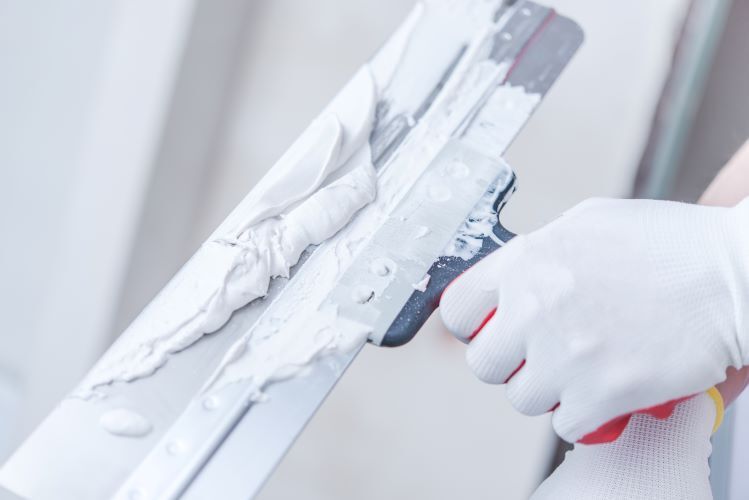
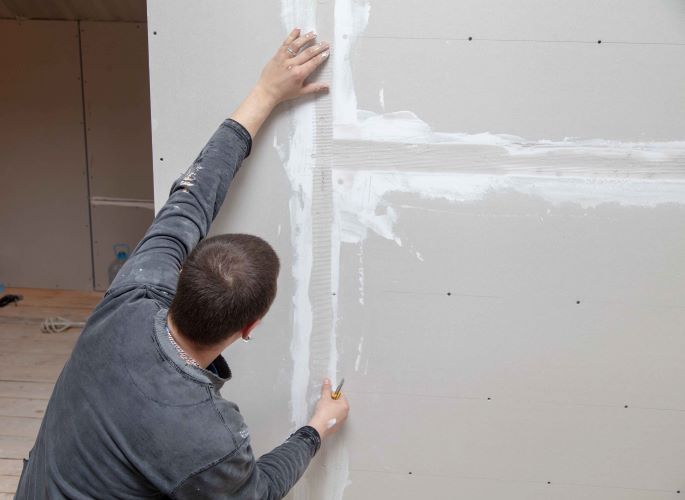
- Apply the Tape: Apply a thin layer of joint compound along the corner. Press the tape into the compound, making sure it’s centered in the corner.
- Embed the Tape: Use a drywall knife to smooth the tape into the compound, pressing it firmly into place. Feather out the edges to blend with the surrounding wall.
- Apply Additional Layers: Once the first coat dries, apply additional layers of joint compound, feathering each layer wider than the previous one. Sand between coats to achieve a smooth finish.
3. Taping Outside Corners
Outside corners, where two walls meet at an angle, require a bit more attention to detail:
Materials Needed:
- Corner Bead or Metal Trim: For outside corners, corner beads or metal trims are often used to create a sharp, durable edge.
- Joint Compound: Used to cover the bead and create a seamless finish.
Technique:
- Install the Corner Bead: Nail or screw the corner bead to the drywall along the outside corner. Ensure it’s straight and securely fastened.
- Apply Joint Compound: Apply a layer of joint compound over the corner bead, covering the edges of the bead and feathering the compound out onto the surrounding drywall.
- Smooth the Surface: Use a drywall knife to smooth the joint compound over the bead, making sure to fill any gaps or voids.
- Sand and Finish: Once the compound is dry, sand the area to remove any high spots or ridges. Apply additional coats of compound if necessary, sanding between each coat.
4. Taping Angles and Miters
For angled corners and mitered joints, where drywall meets at a non-standard angle:
Materials Needed:
- Flexible Corner Tape or Pre-formed Angle Beads: Flexible corner tape is used for non-standard angles, while pre-formed angle beads work for specific angles.
- Joint Compound: To secure the tape and create a seamless finish.
Technique:
- Measure and Cut the Tape: For angled corners, cut the flexible tape or angle bead to fit the angle.
- Apply Joint Compound: Apply joint compound to the angle, then press the tape or bead into place.
- Smooth and Embed: Use a drywall knife to embed the tape and smooth out the compound. Feather the edges to blend with the surrounding drywall.
- Build Up and Sand: Apply additional layers of joint compound as needed, sanding between coats to achieve a smooth, even finish.
5. Tips for a Perfect Finish
- Use Quality Tools: Invest in high-quality drywall knives and taping tools to achieve smoother results.
- Maintain Consistency: Apply joint compound in thin, even layers to avoid excessive sanding.
- Practice Patience: Allow each coat to dry completely before sanding or applying additional layers.
Conclusion
Mastering drywall taping techniques for corners and angles is essential for achieving a flawless finish in your drywall project. By following these detailed steps and employing the right materials and techniques, you can ensure that your drywall corners and angles are smooth and professional-looking.
For expert drywall taping and other drywall services in London, Ontario, contact London Drywallers. Our team of professionals is dedicated to delivering high-quality results for all your drywall needs.