Drywall Framing for Basements: Key Considerations

Finishing a basement is a popular home improvement project that can significantly increase your living space and add value to your home. One of the most critical steps in this process is drywall framing. Proper framing ensures that your drywall is securely attached, creating a strong, stable surface that can support the weight of the walls and provide a smooth finish for painting or wallpapering.
In this article, we’ll explore the key considerations for drywall framing in basements, helping you achieve a professional, long-lasting result.
1. Understanding the Importance of Proper Framing
Before diving into the specifics, it's essential to understand why proper framing is crucial for your basement project. The framing provides the structural support needed to hold the drywall in place. It also helps in defining the layout of your basement, creating the foundation for walls, ceilings, and any built-in features like shelves or closets.
Poor framing can lead to issues such as:
- Uneven Walls: Without a solid frame, your walls may appear wavy or uneven, making it difficult to achieve a polished finish.
- Cracks and Damage: Inadequate framing can cause the drywall to crack over time, particularly in a basement where moisture and temperature fluctuations are common.
- Difficulty Installing Fixtures: If the framing isn’t level or properly aligned, installing fixtures like electrical outlets, switches, and light fixtures can become a challenge.
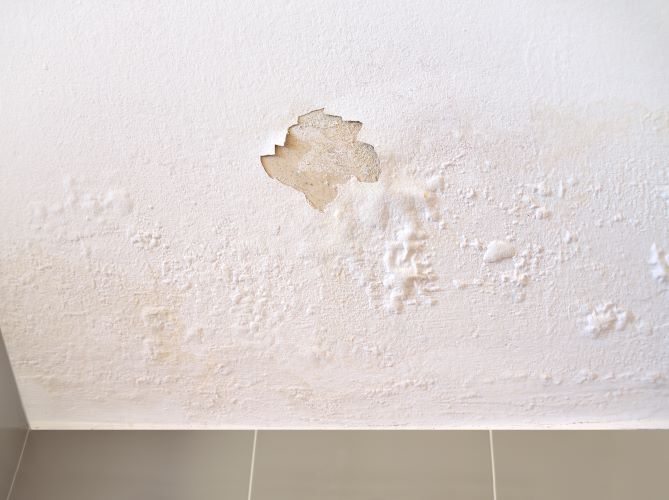
2. Moisture Control
Basements are notorious for moisture problems, and managing moisture is one of the most critical considerations when framing for drywall. Here’s what you need to do:
- Check for Water Leaks: Before you begin framing, thoroughly inspect your basement for any signs of water leaks or moisture infiltration. Address these issues with proper sealing and waterproofing solutions.
- Use Moisture-Resistant Materials: Opt for moisture-resistant materials such as pressure-treated wood or metal studs. These materials are less likely to warp or rot over time due to moisture exposure.
- Install a Vapor Barrier: A vapor barrier can help prevent moisture from seeping through the walls and damaging the drywall. It’s typically installed between the concrete wall and the framing.
3. Choosing the Right Materials
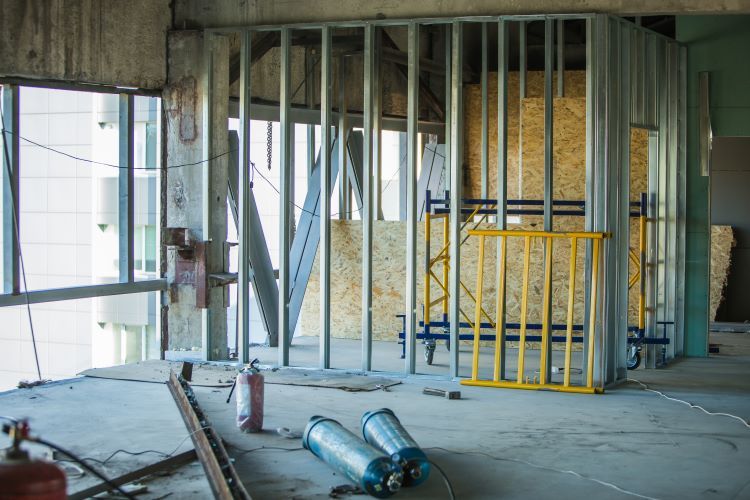
When it comes to framing, you have two primary options: wood and metal studs. Each has its advantages and is suitable for different scenarios:
- Wood Studs: Wood is the traditional choice for framing and is easy to work with. It provides good insulation properties and can be more cost-effective. However, wood can warp, twist, or rot if exposed to moisture.
- Metal Studs: Metal studs are becoming increasingly popular, especially in basements where moisture is a concern. They are resistant to warping, moisture, and pests. Although slightly more expensive, metal studs offer a longer-lasting solution.
4. Planning the Layout
Proper planning is essential to ensure your framing is accurate and efficient. Start by sketching out a detailed layout of your basement, including:
- Wall Placement: Determine where your walls will go, considering factors like existing support beams, windows, and doors.
- Room Dimensions: Measure the dimensions of each room to ensure that the framing will align correctly and that the space will be used efficiently.
- Electrical and Plumbing Considerations: Plan for electrical wiring, plumbing, and any HVAC ducts that will need to run through the walls. Ensure there’s enough space between the studs to accommodate these systems.
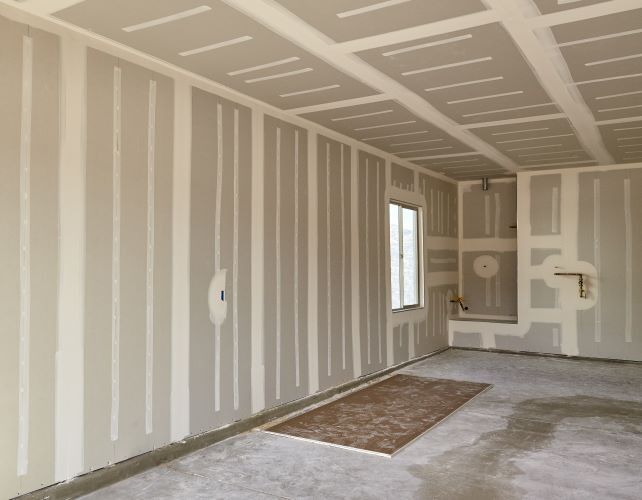
5. Framing Techniques
Here are some essential techniques to keep in mind during the framing process:
- Ensure Level and Plumb: Always check that your studs are level (horizontal) and plumb (vertical). Use a spirit level and a carpenter’s square to maintain accuracy. Uneven framing can lead to drywall that is difficult to install and finish.
- Spacing: The standard spacing for wall studs is 16 inches on center. This spacing provides the best support for drywall while allowing room for insulation and electrical wiring.
- Fastening: Use the appropriate fasteners for the material you're working with. For wood studs, nails or screws are commonly used. For metal studs, use screws specifically designed for metal.
6. Insulation Considerations
Insulation is a critical aspect of basement finishing, especially in colder climates like London, Ontario. Proper insulation will keep your basement warm and energy-efficient.
- Insulate Between Studs: Install insulation between the studs to improve the thermal efficiency of your basement. Choose insulation that is suitable for basements, such as fiberglass batts or rigid foam panels.
- Soundproofing: If you plan to use the basement as a living space, consider adding soundproofing insulation to reduce noise from the upper floors.
7. Building Codes and Permits
Before starting any framing work, ensure you’re aware of local building codes and regulations. These codes often dictate the minimum requirements for framing, insulation, and moisture control. Additionally, you may need to obtain permits for your basement renovation project.
Hiring a professional who is familiar with local codes and standards, like London Drywallers, can ensure that your project meets all necessary regulations.
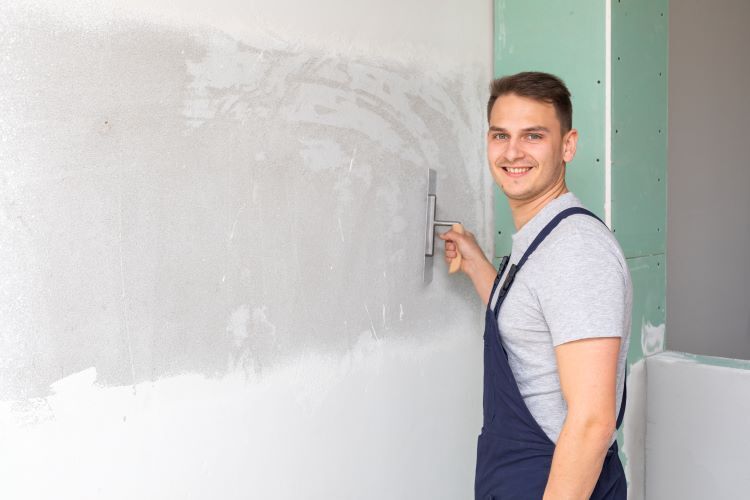
8. Professional vs. DIY Framing
While DIY framing is possible, it requires a good understanding of construction techniques, tools, and materials. Mistakes in framing can lead to costly repairs and delays in your project. Hiring a professional drywall contractor ensures that the framing is done correctly and efficiently, saving you time and potential headaches.
Conclusion
Drywall framing is a foundational step in finishing your basement. By considering factors like moisture control, material choice, layout planning, and insulation, you can create a strong, stable framework that will support your drywall and ensure a smooth, long-lasting finish. Whether you choose to tackle the framing yourself or hire a professional, investing time and effort into this stage of your basement renovation will pay off in the form of a beautiful, functional space.
For expert advice and professional framing services, contact London Drywallers. We’re here to help you transform your basement into the perfect living area.